Deck Ledger Board Attachment: Complete Guide
If you take away one thing from this guide, make it this: the ledger board connection is the single most safety-critical joint in a residential deck, and it's also the one most commonly built wrong. The ledger is the board lag-screwed or bolted to your house that carries one entire edge of the deck's structure — every joist on that side transfers its load through this one connection back into your home's framing. When decks collapse, the ledger connection is overwhelmingly the point of failure, usually from a combination of inadequate fasteners, missing flashing leading to rot, or both.
This guide walks through how a ledger connects to different types of house construction, the fastener spacing the code expects, the flashing details that actually keep the connection from rotting out, and the lateral-load hardware that's now standard in most jurisdictions.
What the Ledger Actually Does
The ledger board is bolted directly to your house's structural framing — almost always the band joist (also called the rim joist), the outermost framing member that caps the ends of your floor joists. The deck's joists then either rest in hangers attached to the ledger, or are toe-nailed/hung depending on the framing layout (see our guide on joist hangers vs. toe-nailing for that connection).
Every pound of live load on that side of the deck — people, furniture, snow — travels: deck joist → ledger → fasteners → house band joist → house framing. If any link in that chain is undersized, missing, or rotted, the entire ledger can separate from the house, often suddenly and without warning, which is why deck collapses are disproportionately dangerous compared to other framing failures.
Step 1: Identify What's Behind Your Siding
Before any fastener selection happens, you need to know what the ledger is actually attaching to — and this is where a surprising number of deck failures start.
- Wood-framed house with a band/rim joist — the most common and most straightforward case. The ledger attaches directly to this band joist through the siding, using lag screws, structural screws, or through-bolts (see Step 2).
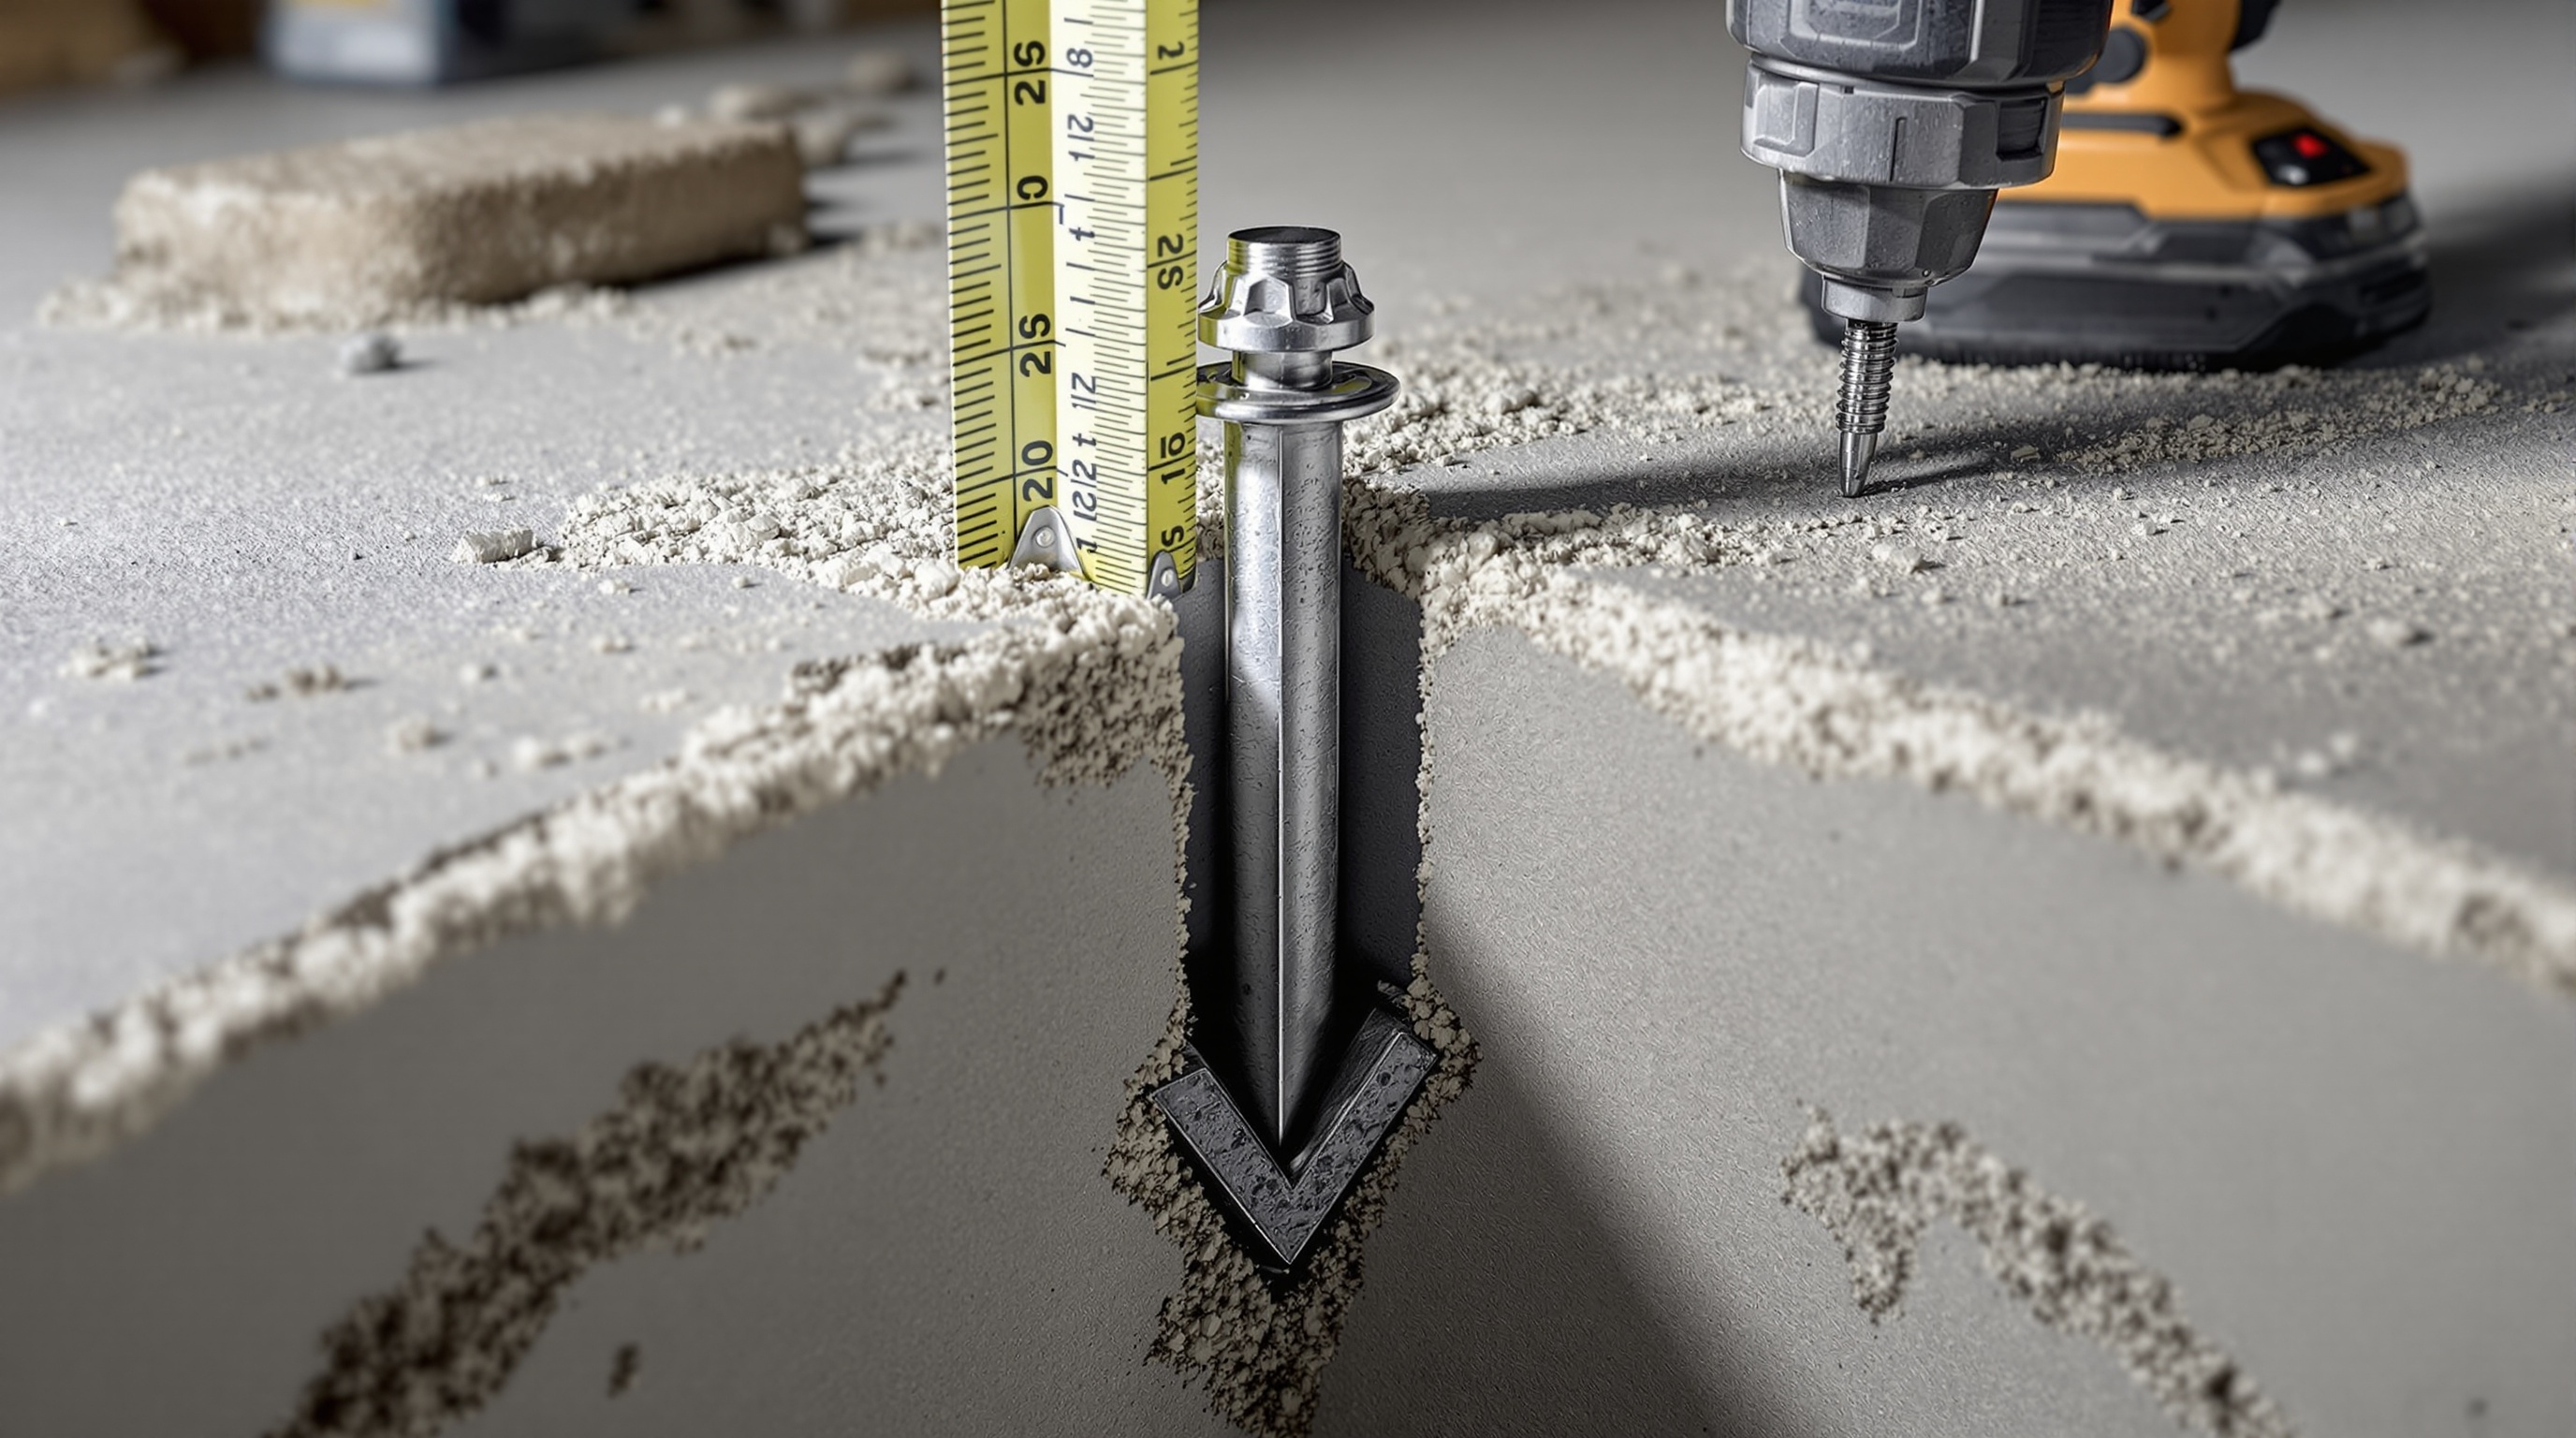
- Concrete or masonry foundation wall — common for walk-out basements or houses on a concrete stem wall. The ledger here requires concrete anchors — wedge anchors or epoxy/adhesive anchors rated for the load — not wood fasteners. This is exactly the scenario the Anchor Specification Engine is built for: it calculates the anchor type, diameter, embedment depth, and spacing per ACI 318-19 for this connection.
- Brick veneer — brick veneer is not structural and cannot bear any of the ledger's load. The ledger must either be set back to clear the veneer and attach to the structural wall behind it, or — far more commonly on existing houses — the deck must be supported independently of the house (a freestanding deck with its own posts/beam on that side) rather than ledger-attached at all. Attaching a ledger through brick veneer into the wall behind it, without the veneer itself bearing load, requires careful detailing that's beyond the scope of a standard prescriptive connection — this is a case where consulting a local engineer or building department is genuinely the right call.
If you're not sure what's behind your siding, a small inspection hole (which will be covered by the ledger anyway) or a stud-finder pass to locate the band joist's edges is worth the five minutes it takes — guessing wrong here is the most common starting point for ledger failures.
Step 2: Fastener Selection and Spacing (Wood-Framed Houses)
For the standard case — ledger attaching to a wood band joist — the IRC's prescriptive ledger fastening table specifies spacing for 1/2" diameter lag screws or through-bolts based on the joist span supported by the ledger and the thickness of both the ledger and the band joist. As a general reference point (always verify against your specific code edition and local amendments):
| Joist Span | On-Center Spacing (2 staggered rows) |
|---|---|
| Up to 6' | ~30" |
| 6'1" – 8' | ~23" |
| 8'1" – 10' | ~18" |
| 10'1" – 12' | ~15" |
| 12'1" – 14' | ~13" |
| 14'1" – 16' | ~11" |
These figures are illustrative of typical prescriptive tables and assume a 2x10 ledger and band joist with no concrete/masonry on either side. Your specific code edition's table is the authoritative source — always confirm with your local building department.
Two staggered rows means the fasteners alternate between an upper row and a lower row across the height of the ledger board, rather than running in a single horizontal line — this spreads the load and reduces the chance of splitting along a single grain line.
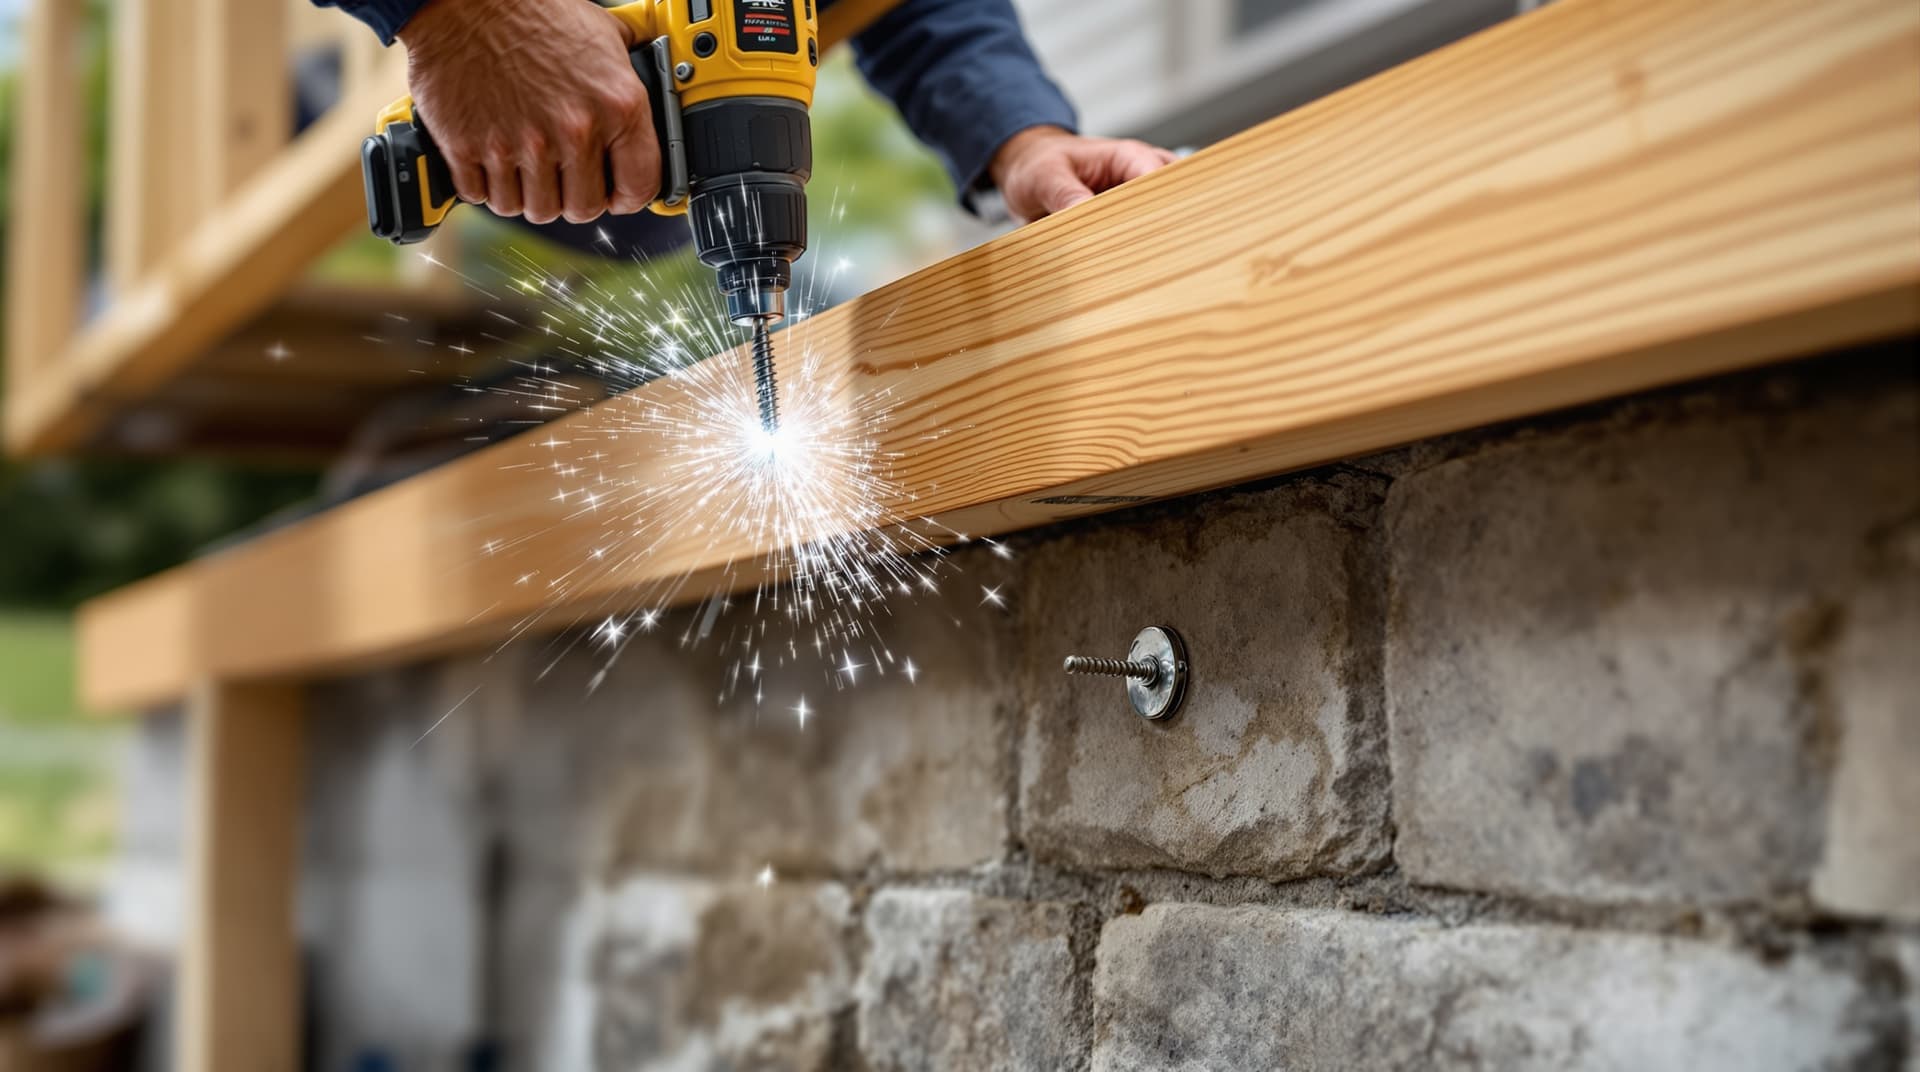
Lag Screws vs. Through-Bolts vs. Structural Screws
- Through-bolts (carriage bolts or hex bolts with a nut and washer on the inside of the band joist) provide the highest, most predictable capacity because the connection doesn't rely on thread engagement in the wood — but they require access to the inside of the band joist (often the basement or crawlspace ceiling) to install the nut.
- Lag screws are the traditional choice when interior access isn't practical — see our structural screws vs. lag bolts guide for installation details and pilot hole sizing.
- Structural screws (e.g., Simpson SDWS Timber, FastenMaster LedgerLOK) are increasingly used and often allowed at the same spacing as 1/2" lag screws per their ESR report — faster to install with no pre-drilling, but you must follow that specific product's published table, not the generic lag screw table.
Ledger Board Material Requirements
The ledger itself is one of the worst places to cut corners on lumber, since it's the hardest part of the deck to inspect or replace later without disturbing the house.
- Pressure-treated lumber, rated for ground contact is the standard choice, even though the ledger itself isn't in ground contact — the "ground contact" rating reflects a higher retention of preservative, which matters given how close the ledger sits to potential moisture from flashing details and the house wall.
- Match or exceed the band joist's dimension. A ledger that's narrower than the band joist it's attached to creates a step that complicates flashing and can leave part of the fastener pattern without full bearing. At minimum, the ledger should be the same nominal size (e.g., 2x10 ledger for a 2x10 band joist).
- No splices in a single ledger span between posts/corners where avoidable — a continuous board distributes load more predictably than a butt-jointed one, and any splice becomes a weak point in the fastener pattern.
- Inspect for crowning and straightness. A bowed ledger board will either need to be flattened against the house (introducing stress) or will leave gaps that complicate flashing. Sight down the board before cutting and orient any crown appropriately, or set the board aside for a less critical use.
Step 3: Flashing — The Detail That Actually Prevents Failures
Fastener spacing gets most of the attention, but in practice, rot from water intrusion behind an unflashed or poorly flashed ledger is the more common root cause of long-term ledger failures — the fasteners themselves often remain intact while the wood around them decays until it can no longer hold them.
Proper ledger flashing, at minimum:
- A continuous metal flashing (typically aluminum, galvanized steel, or PVC-coated) installed over the top of the ledger board and tucked up under the house's existing siding/weather-resistive barrier — never just caulked at the top edge.
- A water-resistant membrane or self-adhering flashing tape behind the ledger itself, between the ledger and the house sheathing, so any water that does get past the top flashing can't sit directly against the band joist.
- The ledger should be held slightly off the house wall in some details (using washers or specific spacer hardware) to allow drainage and airflow behind it — check your local code's specific requirements, as approaches vary.
If you're replacing an old deck and the existing ledger comes off to reveal soft, dark, or crumbling wood on the band joist, that's rot — and it needs to be cut out and the framing repaired with sound lumber before any new ledger goes up. No fastener spec compensates for attaching to rotted wood.
Step 4: Lateral Load Connectors
Following several high-profile deck collapses where ledgers pulled away from houses even with code-compliant fastener spacing, most current code editions require lateral load connectors — hold-down devices (such as the Simpson DTT2Z or similar tension ties) installed at specified intervals (commonly two per deck, near each end) that run from the deck framing through to the house's floor framing, resisting the deck pulling horizontally away from the structure.
These are in addition to the ledger fasteners covered in Step 2, not a replacement for them, and typically require access to the interior floor framing to install the connecting hardware on the house side. If your jurisdiction requires these (most do as of recent code adoptions), they're not optional extras — they address a failure mode that ledger fasteners alone don't fully resolve.
Common Mistakes That Lead to Ledger Failures
- Fastening through siding into nothing — siding and trim boards have no structural value. Every fastener must reach solid framing (the band joist) behind any siding, sheathing, and weather barrier.
- Skipping flashing entirely ("it's caulked, that's enough") — caulk fails; proper flashing is a redundant, passive system that doesn't depend on maintenance.
- Using deck screws instead of rated lag screws, through-bolts, or structural screws — standard deck screws are not rated for this connection's shear and withdrawal loads.
- Attaching to brick veneer as if it were structural sheathing.
- Skipping lateral load connectors because "the lag screws seem tight enough."
- Reusing an old ledger location without inspecting for rot when rebuilding an existing deck.
Planning your deck build?
The Project Tool Finder walks through your specific deck layout and tells you the tools, fasteners, and materials list for the whole project. If your ledger attaches to a concrete or masonry foundation wall rather than a wood band joist, the Anchor Specification Engine calculates the exact anchor type, diameter, and spacing for that connection per ACI 318-19.
Frequently Asked Questions
Can I build a deck without a ledger at all?
Yes — a "freestanding" deck has its own posts and beam on all four sides and isn't attached to the house structure at all. This avoids the ledger connection entirely and is often the recommended approach when the house side has brick veneer, an unsuitable wall type, or when you simply want to avoid penetrating the house's exterior envelope. The tradeoff is additional posts and footings along that side.
Do I need a permit and inspection for ledger work?
In nearly all jurisdictions, yes — deck construction, and ledger attachment specifically, is one of the most commonly inspected residential framing items precisely because of the failure history described above. Skipping this isn't just a paperwork issue; the inspection is one of the few outside checks on a connection that's otherwise hidden behind decking and siding once complete.
My house has a walkout basement with a concrete foundation wall above grade on the deck side — what changes?
This is the concrete/masonry case from Step 1. You'll need concrete anchors rather than wood fasteners, sized and spaced for the deck's actual loads — run your project's dimensions through the Anchor Specification Engine to get the specific anchor type, diameter, embedment, and spacing for your situation.