Landscape Timber Retaining Walls: Pins vs Screws
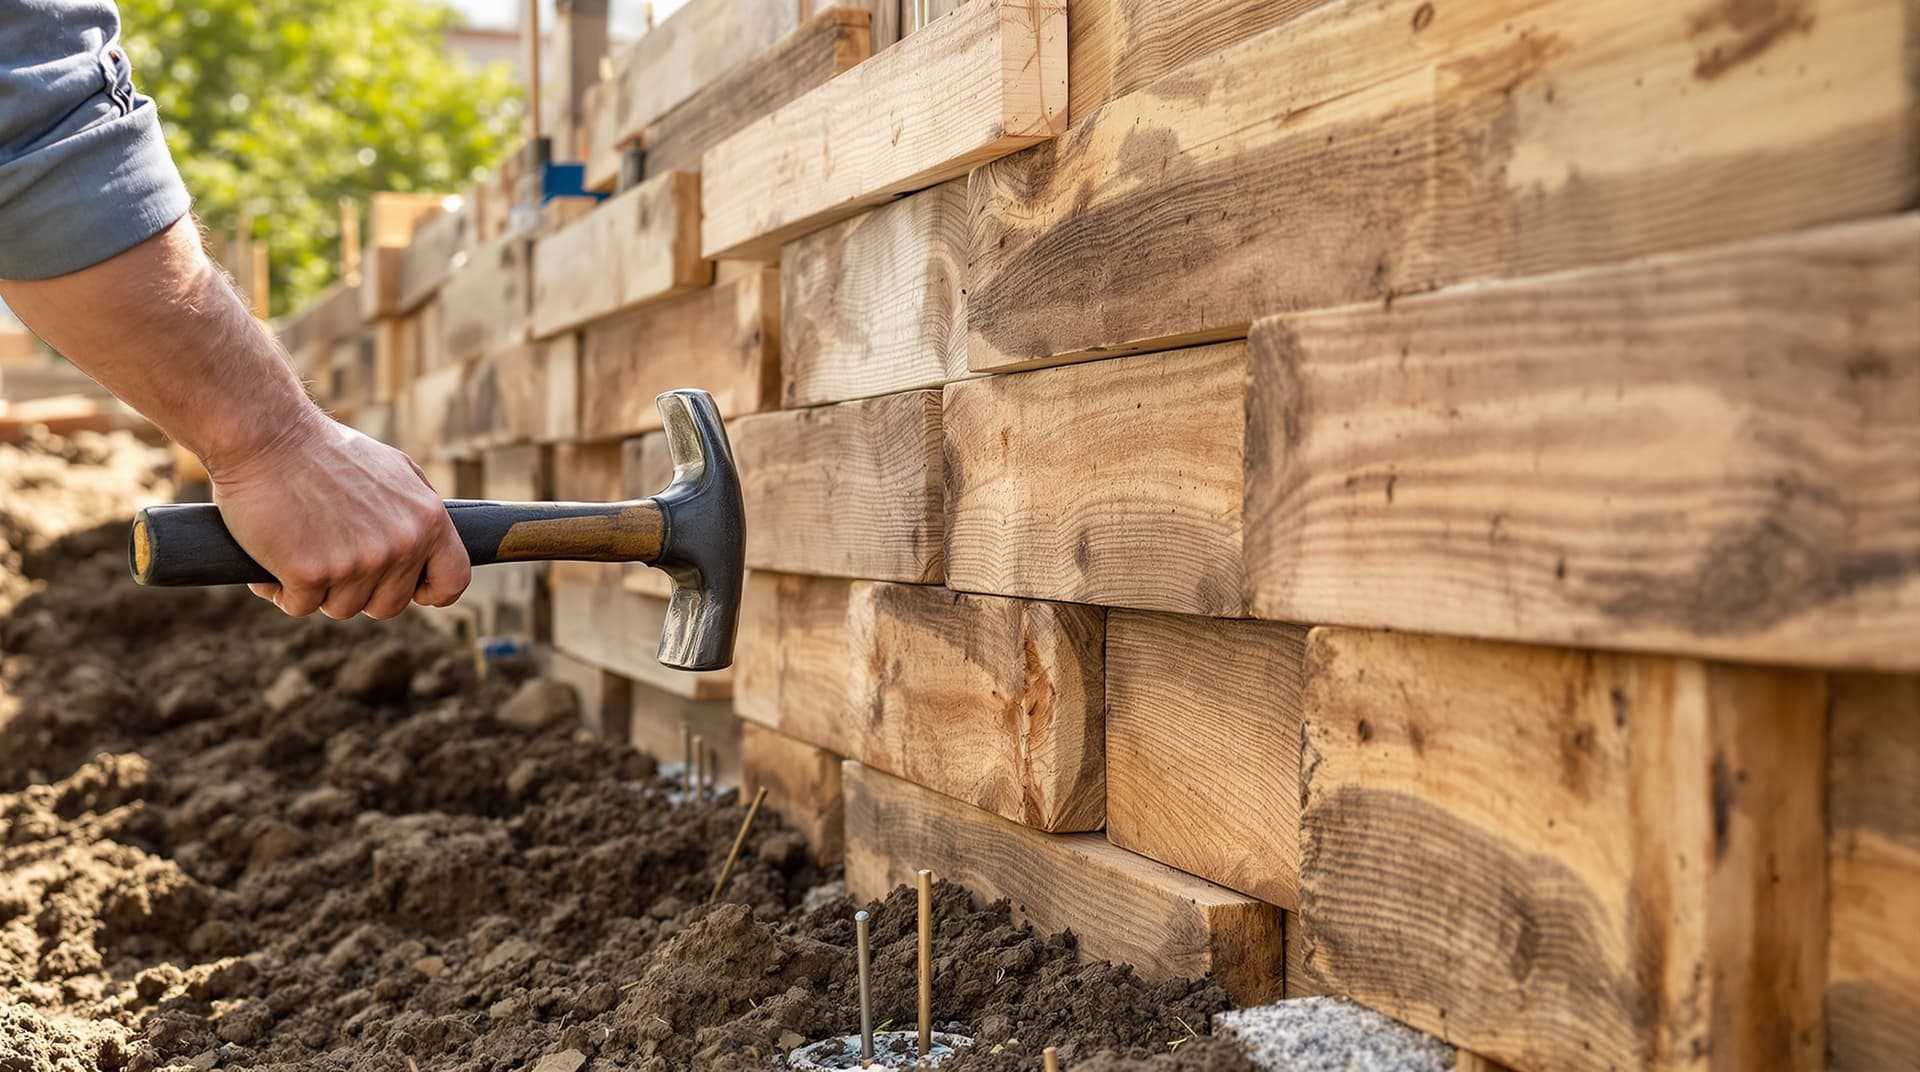
A timber retaining wall is really just a stack of courses that need to act as one unit — without that connection between courses, the wall is just a pile of loose timbers that soil pressure will eventually push apart. The two standard methods for tying courses together are rebar pins and landscape/timber screws, and the choice between them (or, often, using both) affects how well the wall resists sliding, separation, and frost movement over time.
Rebar Pins: The Traditional Method
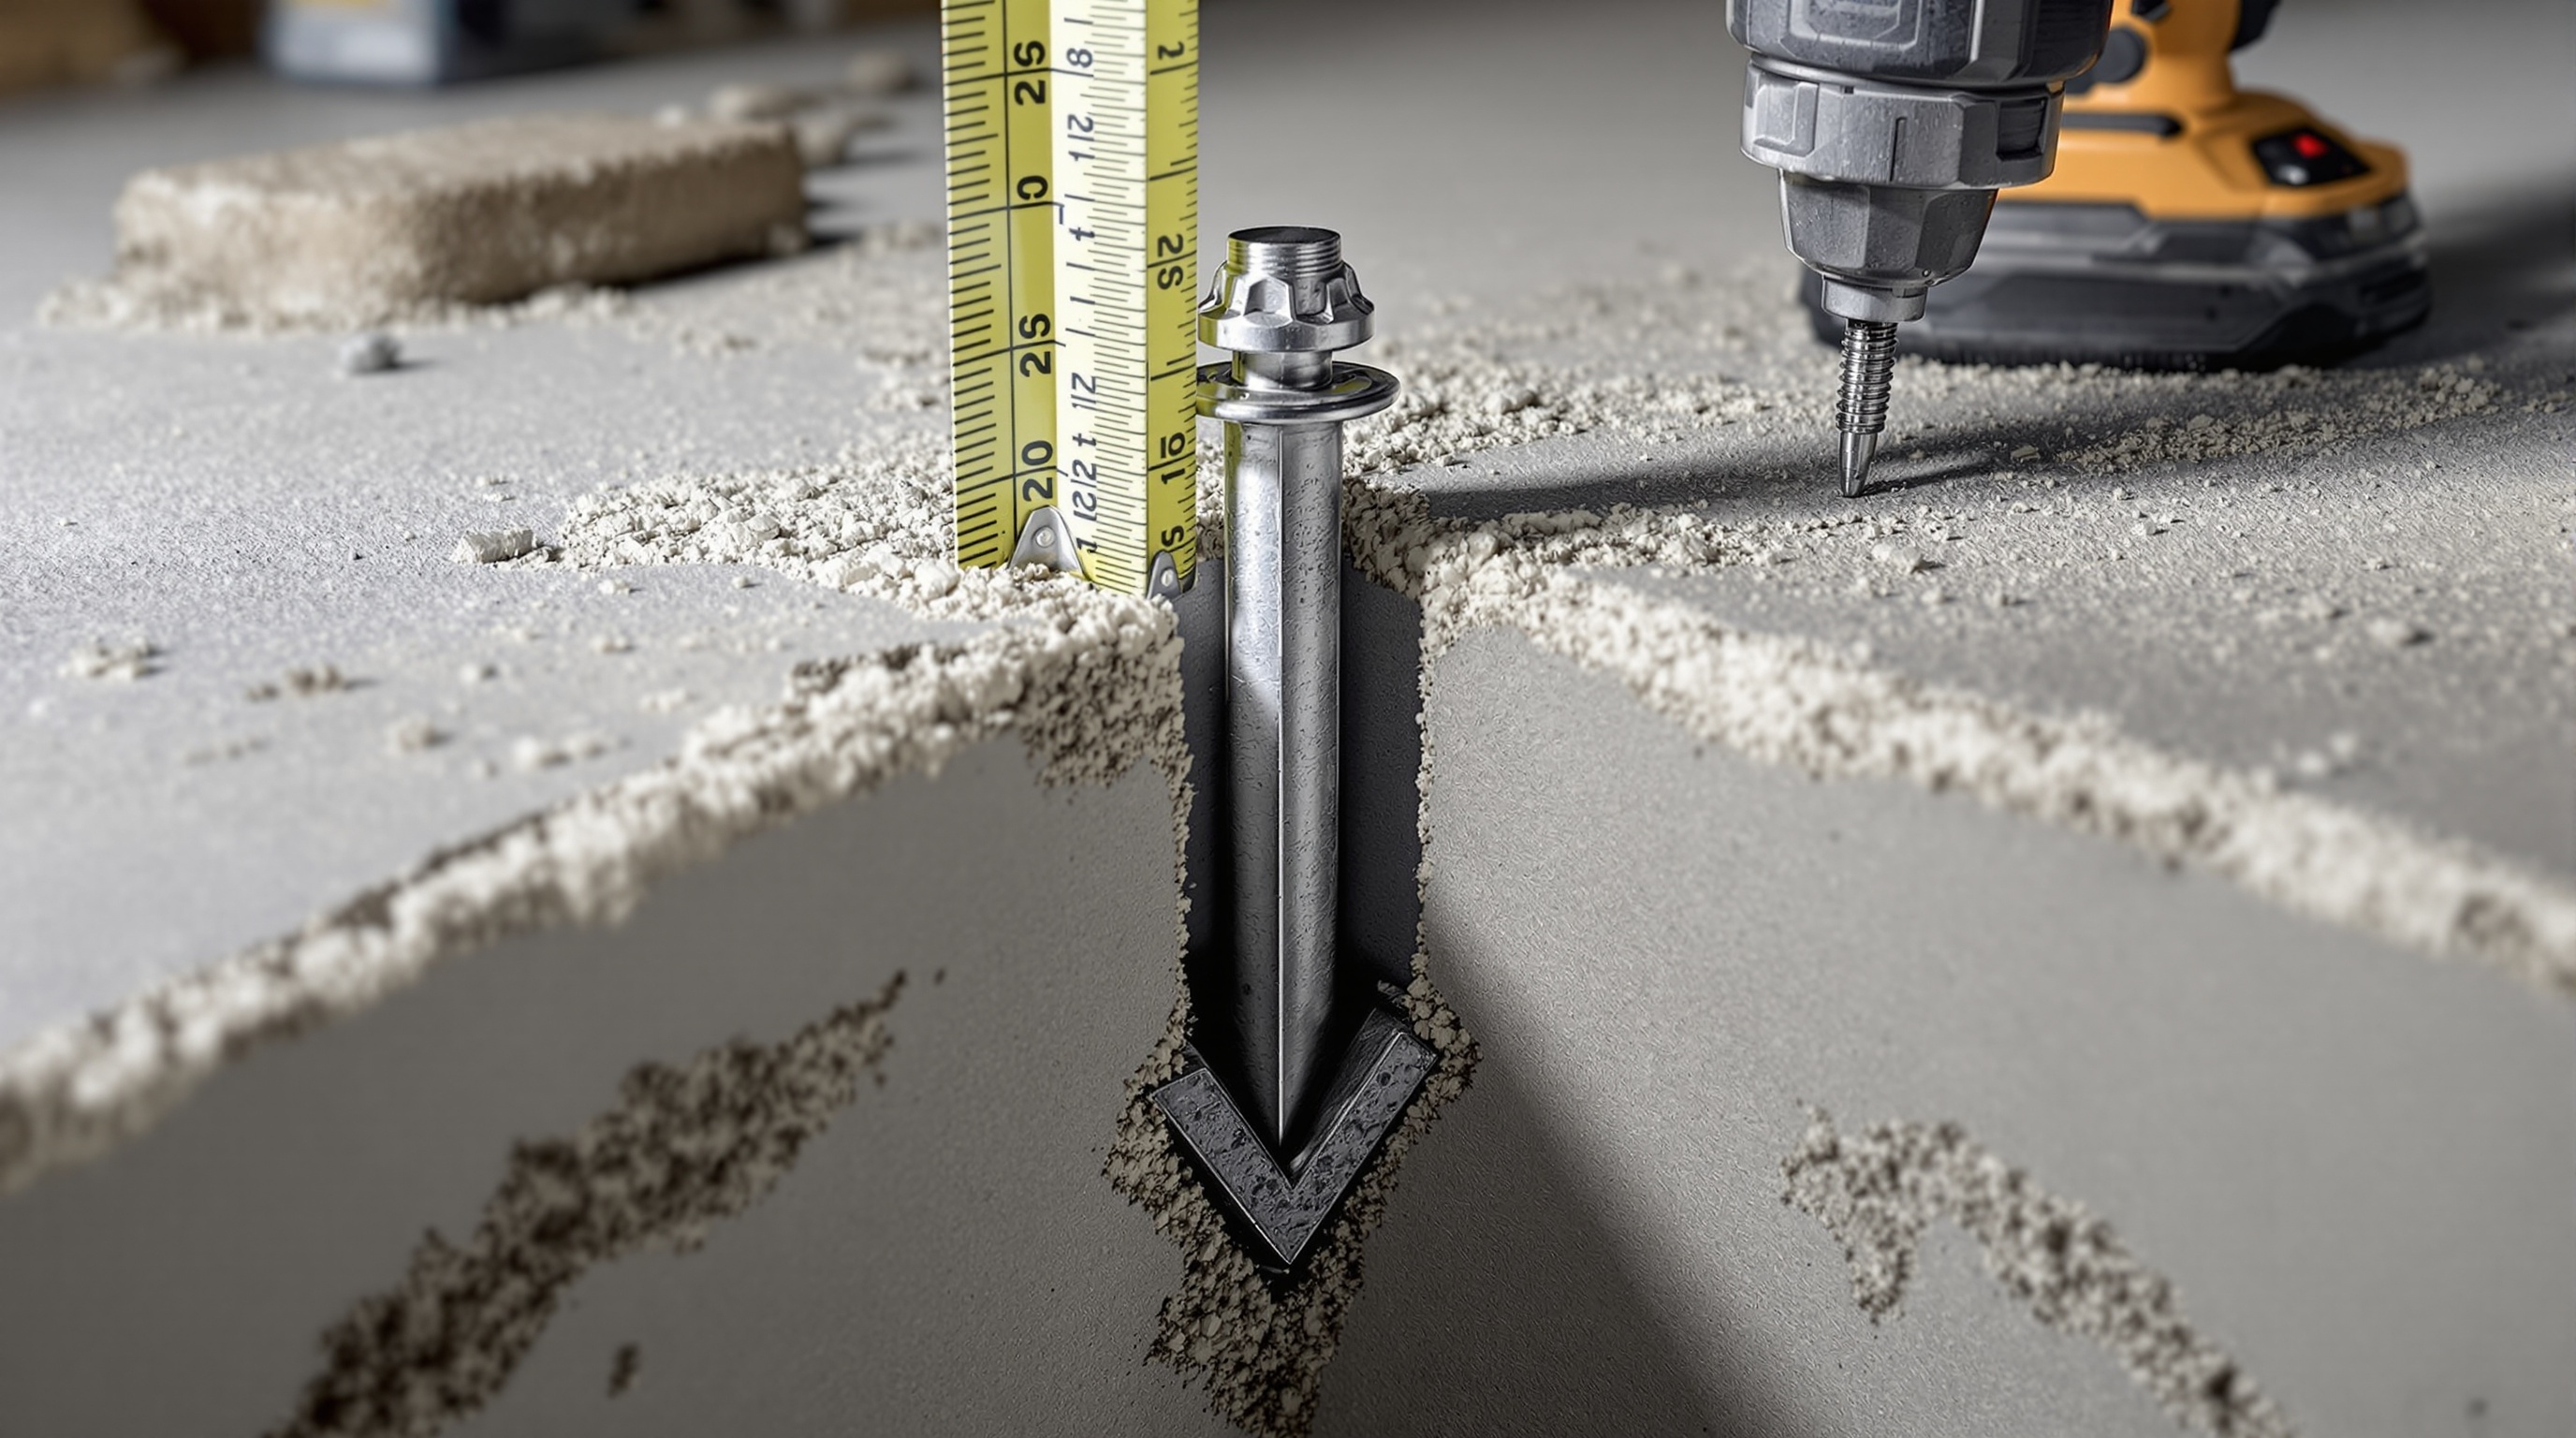
Rebar pins (sometimes sold as dedicated "landscape spikes") are driven vertically through pre-drilled holes in a timber, through the timber below it, and into the soil or gravel base beneath the wall. A sledgehammer does the work — no power tools required.
- Strengths: Excellent shear resistance — pins resist the courses sliding horizontally relative to each other, which is the dominant force in a retaining wall holding back soil. Inexpensive, and the large diameter (typically 1/2" rebar) handles significant load.
- Weaknesses: Pins resist shear well but don't actively clamp the timbers together — there's no tension holding adjacent timbers tight against each other, so gaps can open over time, especially with wood shrinkage. Driving pins through multiple courses requires a long drill bit and careful alignment; a pin that wanders off-vertical can split a timber.
Landscape Screws: The Modern Alternative
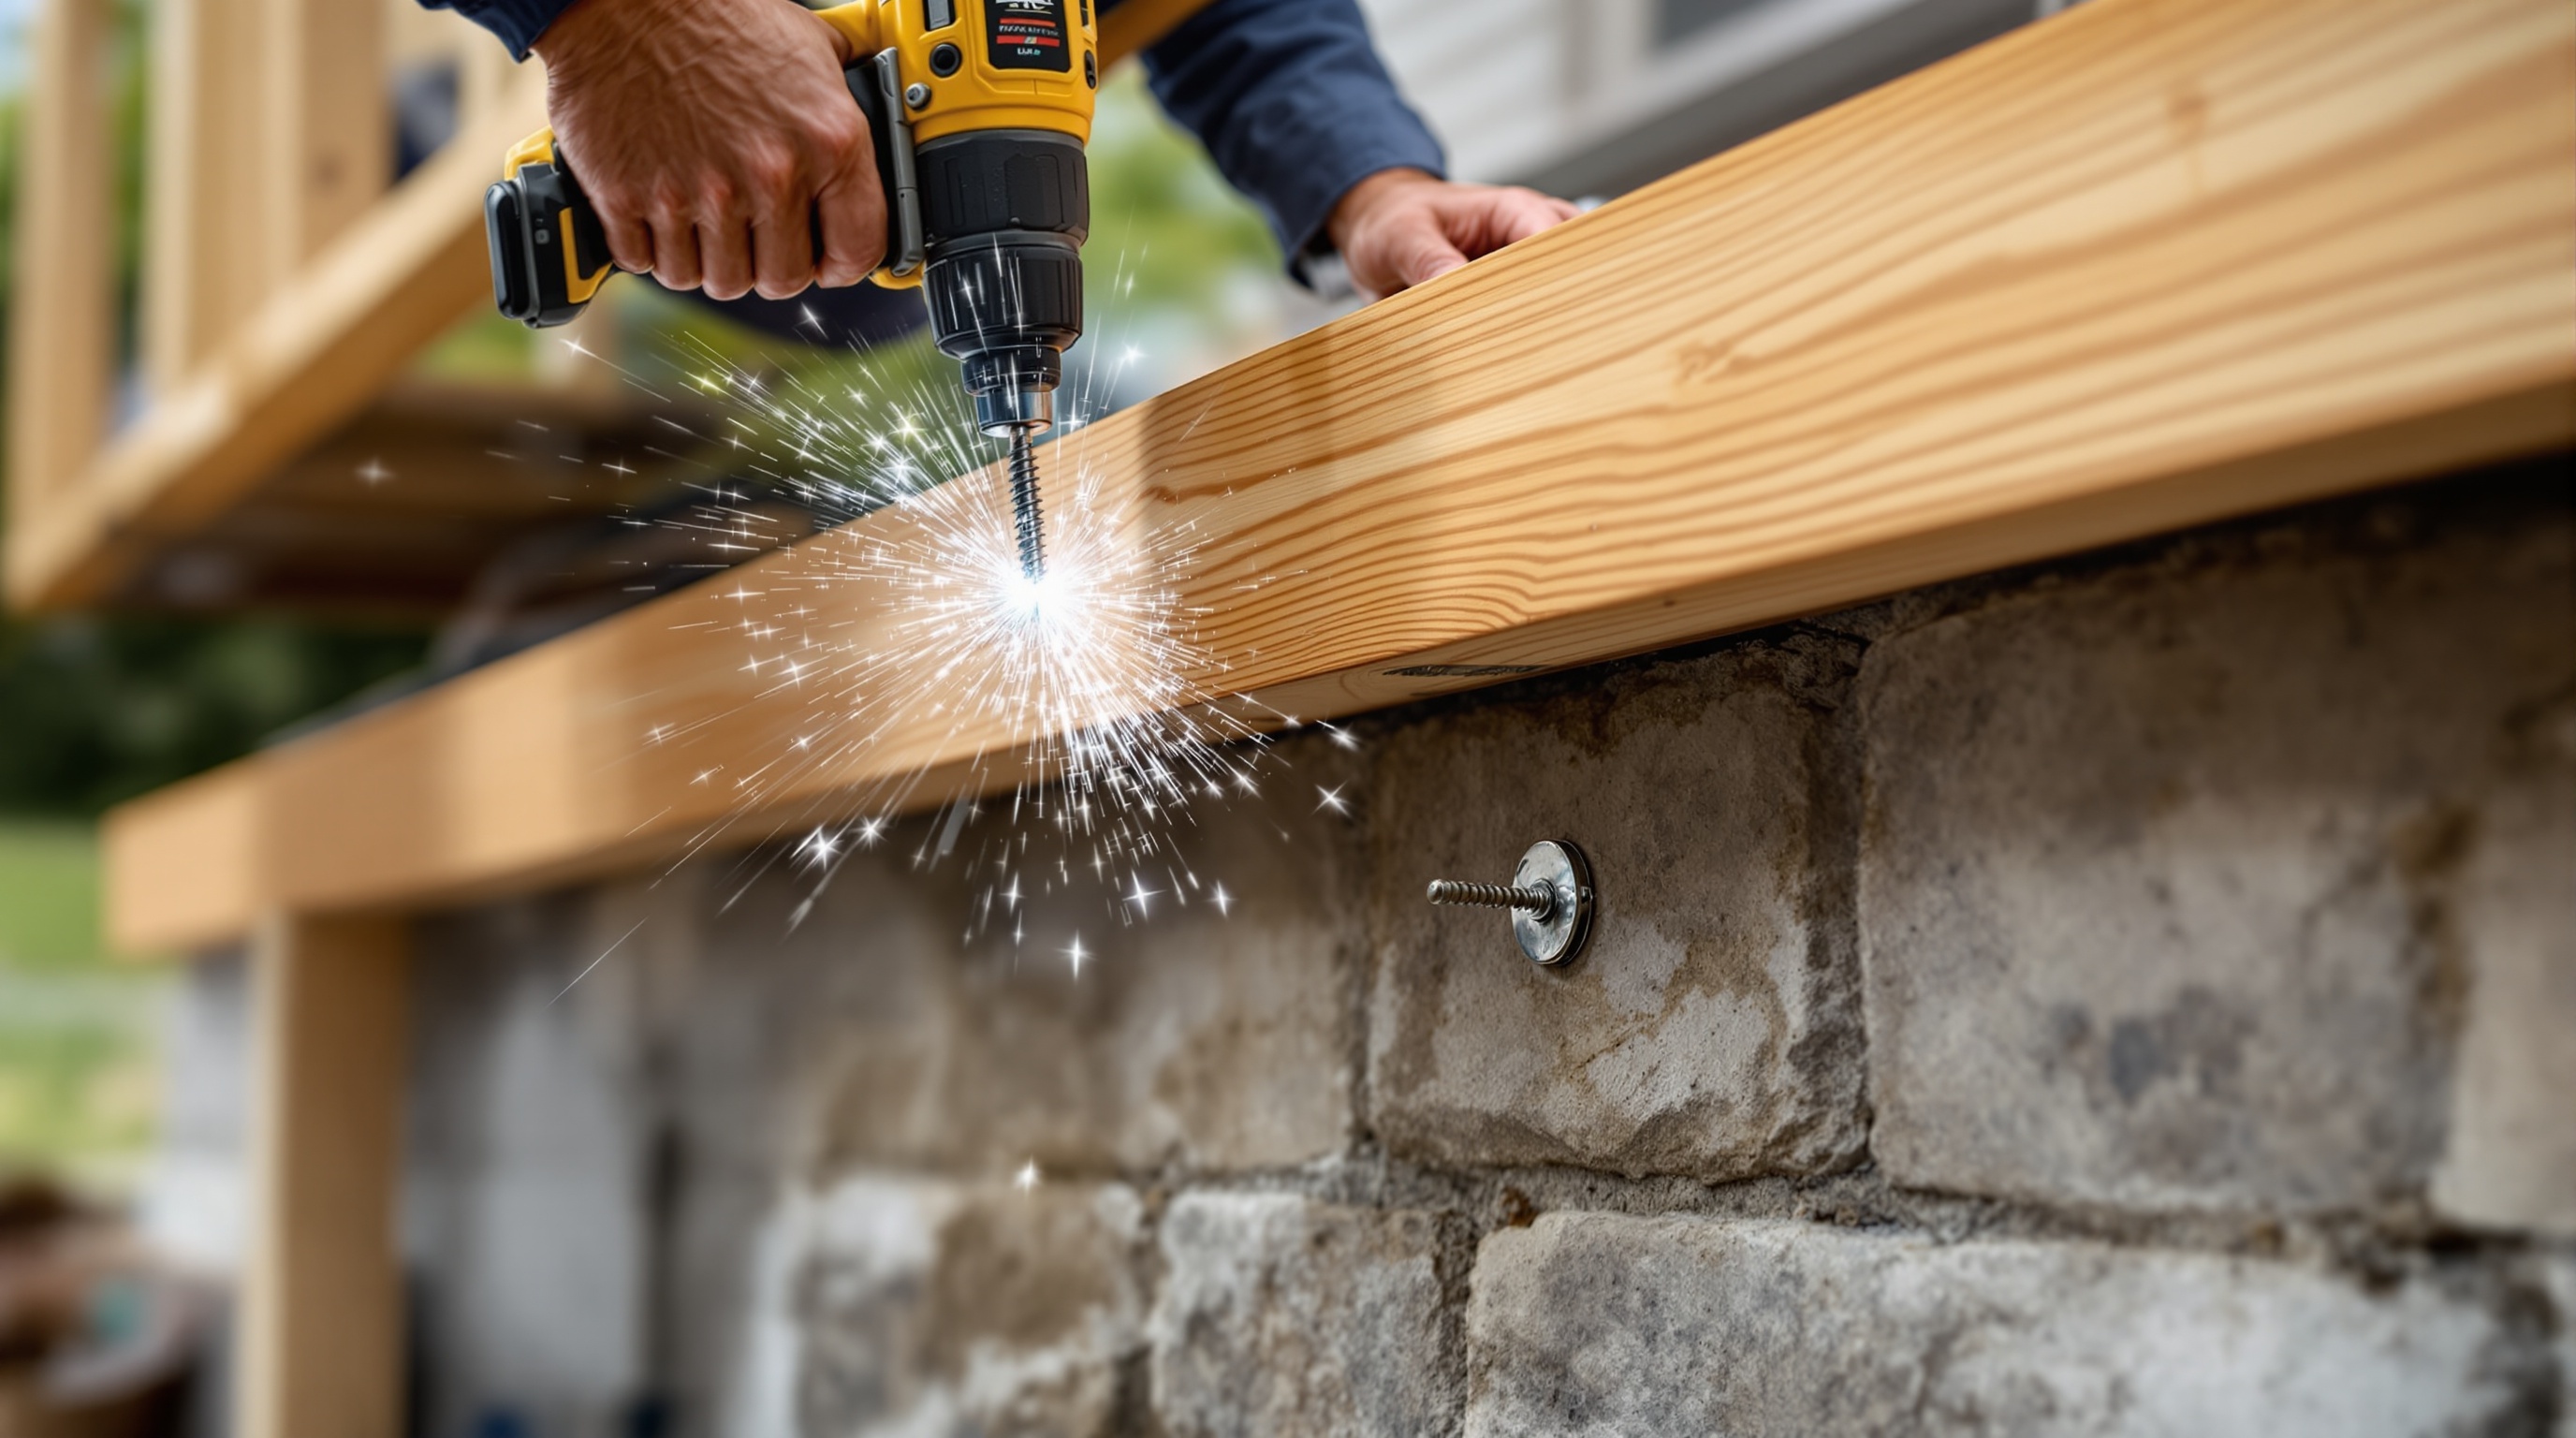
Long structural screws (similar in concept to the structural screws covered in our lag bolts comparison, but in landscape-specific lengths often 6"-12") are driven through one timber into the one below, typically at a slight angle or straight down, using an impact driver or high-torque drill.
- Strengths: Actively clamp courses together (tension), which helps keep joints tight as lumber shrinks and swells seasonally. Fast installation with a single tool, no separate pilot-hole step for most self-tapping landscape screw products.
- Weaknesses: Smaller diameter than rebar pins means less raw shear capacity per fastener — taller or higher-load walls typically need more screws per course, or screws combined with pins, to match a pinned wall's shear resistance. Cost per fastener is meaningfully higher than rebar.
Which Should You Use?
For most low landscape walls (under about 3 feet), either method — or a combination — works well:
- Pins alone are the traditional, budget-friendly choice and have a long track record for low walls with good drainage behind them.
- Screws alone work well for shorter walls and give a tighter, more finished-feeling assembly, especially for walls built with kiln-dried landscape timbers rather than rough rebar-compatible lumber.
- Both together — a common professional approach — uses pins for shear resistance between courses and screws at the ends/corners or at intervals for additional tie-in, getting the strengths of each.
When Fasteners Alone Aren't the Answer
It's worth being direct about something the fastener choice doesn't solve: walls taller than roughly 3-4 feet (check your local code — this threshold varies) typically require engineering involving geogrid reinforcement extending back into the soil, a battered (set-back) face, and a properly drained gravel backfill. No fastener — pins, screws, or otherwise — compensates for inadequate overall wall design at that scale. If your project is approaching that height, the fastener question becomes secondary to the overall wall design, which is worth getting engineering input on.
For walls within the range where fastener choice is the main decision, the Project Tool Finder can walk through your specific wall dimensions and recommend a fastening approach along with the tools and materials list for the project.
Installation Notes
- Pre-drill for pins — even though pins are "driven," a pilot hole through the top timber (and partway into the one below) keeps the pin on a straight vertical path and prevents splitting.
- Stagger fastener locations course to course — placing every pin or screw in the exact same spot on every course concentrates stress along a single vertical line.
- Don't substitute standard deck screws for landscape screws — landscape screws are designed for the larger diameters and lengths involved, and standard deck screws in those lengths aren't rated for this application.
Frequently Asked Questions
Can I use both pins and screws on the same wall?
Yes — this is a common professional approach. Pins handle shear between courses while screws at key locations (corners, ends, every few feet) add clamping tension. There's no conflict between the two methods on the same structure.
How long should rebar pins be for a typical timber retaining wall?
Pins typically need to pass through at least two courses plus extend into the course or base below — for standard 6"x6" or 8"x8" timbers, this often means pins in the 18"-24" range, but always check the specific product and wall design you're following.
Do I need anything different for the base course?
The base course is typically pinned or screwed down into a compacted gravel base rather than into wood below it — for pins, this usually just means driving them into the prepared base; for screws, the base course is more commonly secured with pins or larger anchors designed for that purpose rather than wood screws, since there's no wood below to bite into.