How to Drill Into Concrete Safely Without Cracking It (Step-by-Step Guide)
Drilling into concrete isn't just "pushing a spinning bit against a wall harder." Concrete has excellent compressive strength but very low tensile strength — push outward or vibrate it the wrong way, especially near an edge, and it shears and cracks rather than cutting cleanly. Get the technique right, though, and even 4,000+ PSI structural concrete drills predictably and cleanly.
This guide covers the full process: matching your tool to the substrate, the step-by-step drilling sequence, the specific reasons concrete cracks (and how to avoid each one), and what to do when you hit rebar.
How Concrete Drilling Actually Works
Drilling wood or metal shears away ribbons of material with a sharp cutting edge. Concrete drilling works on a completely different principle: pulverization. A carbide-tipped bit delivers rapid impacts that crush the aggregate into dust, while the bit's flutes auger that dust out of the hole. Getting a clean hole means balancing three things — impact energy, rotational speed, and dust evacuation. Too violent an impact near an edge, and the concrete fractures. Too much RPM, and the bit overheats and the brazing holding the carbide tip fails. Too little dust clearing, and packed debris creates uneven lateral pressure that can crack the hole walls.
This process also generates fine crystalline silica dust, which poses serious long-term respiratory health risks (silicosis) if inhaled repeatedly. OSHA guidelines call for dust management — at minimum a properly-fitted N95/P100 respirator, and ideally a HEPA-filtered vacuum attachment for any sustained work.
Match the Tool to the Substrate
- Standard rotary drill — fine for shallow holes in soft mortar, but will overheat and dull instantly against cured concrete. Never use rotary-only mode for structural concrete.
- Standard hammer drill — uses two ribbed cam discs that slip against each other, producing high-frequency (30,000–40,000 BPM) but low-energy impacts (fractions of a Joule). Good for holes up to 3/8" in brick, mortar, or standard cinder block — the lighter impact is also less likely to crack fragile, hollow materials.
- SDS rotary hammer — uses an electro-pneumatic piston delivering far fewer but much harder strikes (2.0–3.0 Joules at up to 4,500 BPM). For solid cured concrete, holes 1/2" and larger, or sinking wedge anchors, this is non-negotiable — it shatters aggregate with minimal manual pushing and dramatically reduces the risk of binding or cracking the surface.
Step-by-Step: Drilling a Clean Hole
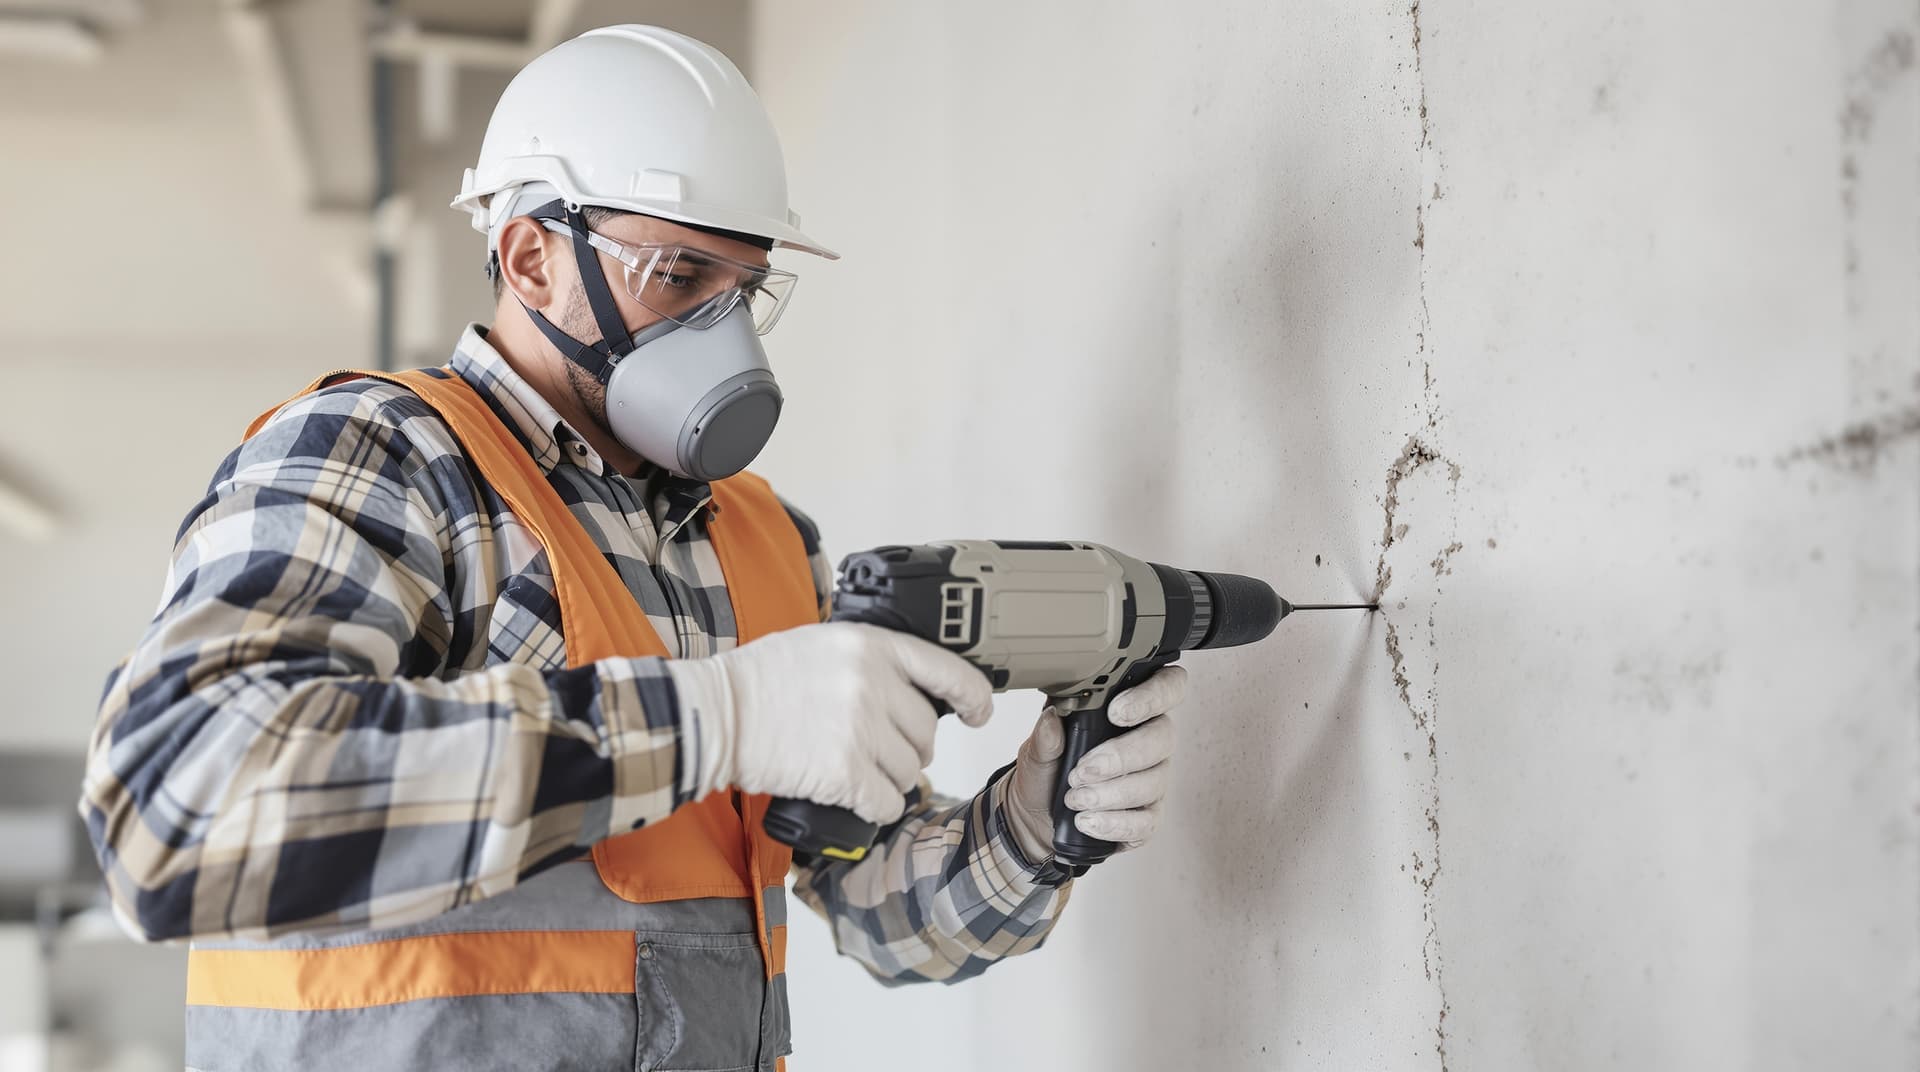
- Gear up. ANSI Z87.1 impact-rated safety glasses, hearing protection, and an N95/P100 respirator — minimum, every time.
- Mark and center-punch. Concrete surfaces are irregular and a spinning bit will "walk" off your mark. Use a center punch and hammer to create a small starting dimple exactly where you want the hole.
- Set your depth. Use your tool's depth rod, or wrap brightly colored tape around the bit at the required depth. Always drill 1/4"–1/2" deeper than the anchor's embedment to leave room for settled dust.
- Start in rotary-only mode. Pulse the trigger without the hammer function to score a shallow (~1/8") pilot divot. Once the carbide tip is seated in this pocket, switch on hammer mode. This prevents the bit walking and chipping the surface.
- Drill in increments — "peck drilling." Don't push straight to depth in one go. Drill 1/2"–1" at a time, withdrawing the spinning bit fully each time to clear packed dust from the flutes. This keeps the bit cool and prevents lateral pressure buildup that can crack the hole walls.
- Let the tool do the work. Apply firm, steady pressure — never your body weight. Excessive force dampens the percussive blow, generates heat, and is the single biggest cause of premature bit failure.
- Throttle down near the exit (through-holes only). As the tone changes and resistance drops near breakthrough, ease off pressure and let the bit grind the last 1/4" — this prevents a cone-shaped chunk of material blowing out the back ("spalling").
- Clean the hole thoroughly. Dust left in the hole can reduce an anchor's holding capacity by more than 50%. Use a wire brush and a blowout bulb, compressed air, or HEPA vacuum to fully clear it before installing any anchor.
Why Concrete Cracks — and How to Prevent It
Cracking and spalling aren't random — they trace back to a handful of specific causes:
- Edge proximity. The biggest cause by far. Rule of thumb: never drill closer to an unsupported edge than 5 times the fastener diameter. For a 1/2" bit/anchor, stay at least 2.5" from any edge. Drilling closer invites spalling and can compromise the entire fastening point's structural integrity.
- Aggregate deflection. When the bit hits a piece of hard river rock or quartz, a 2-cutter bit can deflect and violently kick sideways, fracturing the surrounding mortar paste. 4-cutter bits track straighter through mixed aggregate.
- Blowout on exit. Heavy forward pressure on a through-hole causes a cone of material to blow out the backside right before breakthrough — solved by easing off pressure for the final 1/4" (step 7 above).
- Thermal expansion / overheating. A dull bit pushed at high RPM generates enough localized heat to expand the surrounding material and cause micro-fractures — and will melt the brazing off the bit itself, turning it into a friction generator rather than a cutting tool.
- Expansion anchors near edges. Even a perfectly drilled hole can crack when you torque down a wedge or sleeve anchor near an edge — the mechanical expansion puts outward pressure on the hole walls. Near edges, prefer concrete screws (Tapcons) — see our Tapcon sizing guide — or chemical epoxy anchors, which apply zero expansion stress.
Dealing With Rebar
If you suddenly hit extreme resistance, hear screeching, and see metal shavings in the flutes, you've struck rebar. Stop immediately — a standard carbide bit will stall and the tip will quickly overheat and fail against steel. Switch the tool to rotary-only mode, swap to a dedicated rebar-cutter bit, cut cleanly through the steel, then switch back to your standard concrete bit and resume in hammer mode.
Hole's drilled clean — now what anchor and torque spec?
The free Anchor Specification Engine calculates the exact anchor size, embedment depth, and torque value for your project per ACI 318-19. For bit sizing specifics, see our drill bit sizing guide for anchors.
Try the Anchor Specification Engine →Common Mistakes to Avoid
Relying on high RPM. Speed creates heat, not progress. A high-RPM, low-hammer approach will glaze and burn a carbide bit fast — rely on the tool's BPM (impact rate), not raw rotational speed.
Ignoring bit wear. A dull carbide tip hammers aimlessly against the aggregate without pulverizing it, transferring shock back into your hands and the tool's motor instead. If the carbide shoulders look rounded over, replace the bit.
Skipping PPE. Silica dust exposure is cumulative — treat every concrete drilling session as one that adds up over a career, not just "this one hole."
Buying Advice: Tools and Bits
For serious DIY work — anchoring shelving, mounting heavy TVs, securing sill plates — an 18V/20V brushless cordless hammer drill delivering at least 500 in-lbs and roughly 30,000 BPM (Makita, DeWalt, Milwaukee) is a solid choice. For contractors or frequent structural work, a 1" or 1-1/8" SDS-Plus rotary hammer (Milwaukee M18 FUEL or Makita 18V LXT Brushless) delivering 2.0–2.6 Joules makes structural concrete feel like drilling drywall.
Whichever tool you choose, pair it with quality 4-cutter, solid-carbide head bits (Bosch Bulldog Xtreme, Milwaukee MX4, Hilti TE-CX) — see our full masonry drill bit guide for details. The smooth cutting action of a 4-cutter head through mixed aggregate and occasional rebar is what prevents the sudden torque spikes that crack concrete in the first place.
Conclusion
Drilling into concrete without cracking it comes down to three things: matching your tool to the substrate (rotary hammer for anything structural), following the step-by-step sequence — score, peck-drill, throttle down on exit, clean thoroughly — and respecting the 5x-diameter edge distance rule. Get those right, equip yourself with 4-cutter carbide bits and proper PPE, and concrete drilling stops being the dreaded job it has a reputation for.