Common Mistakes When Drilling Into Concrete (And How to Avoid Them)
Drilling into concrete should be a straightforward task, but it is routinely one of the most frustrating aspects of construction and DIY projects. When things go wrong, you end up with cracked walls, burned-out drill bits, wallowed-out holes, and anchors that spin freely instead of locking down tight.
Concrete is an exceptionally dense, abrasive, and unforgiving composite material. It is a mixture of cement, sand, and hard aggregate (like crushed stone or gravel) that cures into a rock-solid mass often exceeding 4,000 PSI in compressive strength. Without the right tools, correct technique, and an understanding of material dynamics, you will inevitably hit a wall—literally. This guide breaks down the science of drilling concrete, the common errors that sabotage a job, and the professional techniques required to bore perfect, clean holes every time.
Overview: The Dynamics of Drilling Concrete
To successfully drill into concrete, you must understand what you are cutting. Unlike wood or metal, which are cut by the sharp flutes of a rotating bit, concrete must be pulverized. You are not shaving material away; you are fracturing the aggregate and cement paste into a fine dust, and then using the flutes of the drill bit to evacuate that dust from the hole.
This pulverizing action requires two simultaneous forces: rotation and percussion. Rotation spins the cutting head to sweep away the fractured debris, while percussion provides a rapid hammering motion that drives the tungsten carbide tip of the bit into the dense aggregate, breaking it apart.
When to Use Specialized Concrete Tools
You cannot use a standard power drill equipped with a wood or metal bit to drill into a poured concrete slab or foundation wall. A rotational drill lacks the percussive impact required to fracture the aggregate. If you attempt this, the bit will simply spin against the abrasive concrete, rapidly generating enough friction to melt the cutting edge.
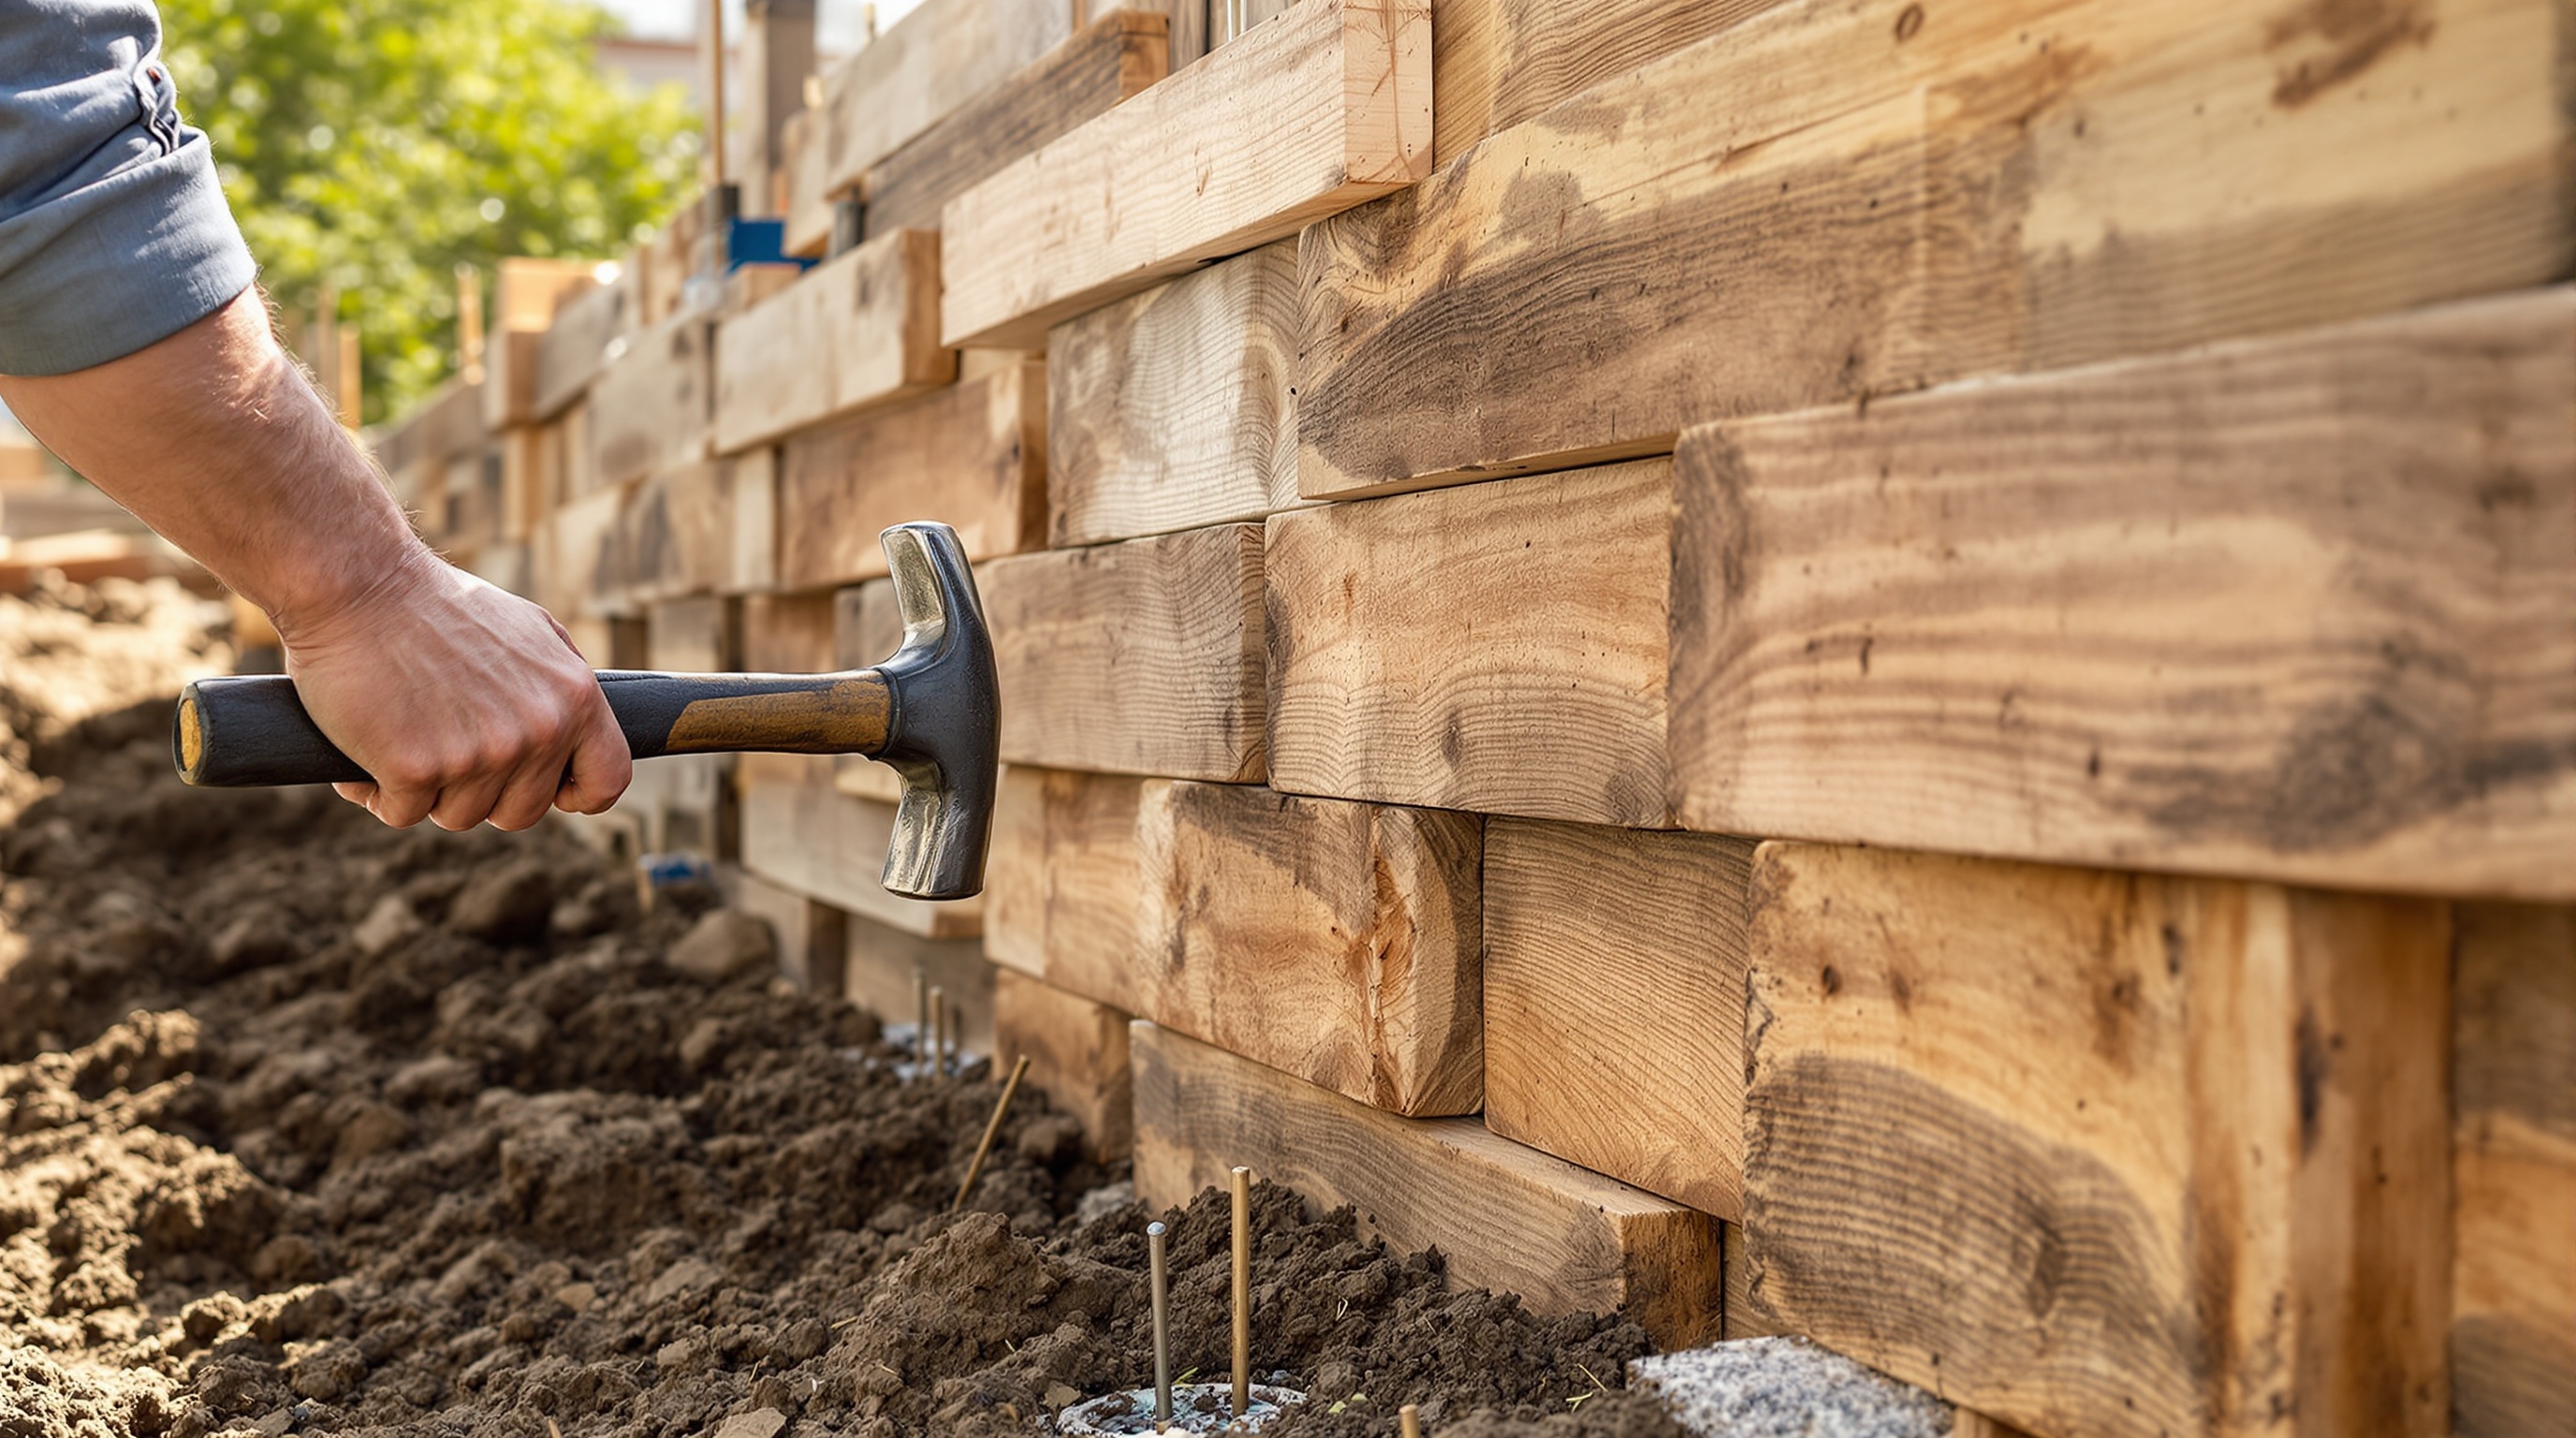
When approaching a concrete job, you must step up to either a hammer drill or a rotary hammer. If you are mounting lightweight shelving in a cinder block wall, a standard 18V or 20V cordless hammer drill is usually sufficient. However, if you are drilling 1/2-inch holes into a 50-year-old basement foundation for heavy-duty wedge anchors, you need the brute force of a dedicated rotary hammer. If you are unsure of your equipment needs, deciding between a hammer drill and a regular drill is the very first step toward a successful project.
Key Differences: Hammer Drills vs. Rotary Hammers
A common misconception is that a hammer drill and a rotary hammer are the same tool. They operate on entirely different mechanical principles, and confusing the two often leads to tool burnout.
- Hammer Drills: These tools use two ridged metal discs (cam plates) that click rapidly against each other as the chuck spins. This delivers high-frequency, low-impact blows. They are excellent for softer masonry, brick, and mortar, but they struggle to penetrate hard, aged, high-PSI concrete.
- Rotary Hammers: These utilize an electro-pneumatic piston mechanism to drive a striker directly into the back of the drill bit. They produce much lower frequency but exponentially higher impact energy (measured in Joules). They use specialized SDS-Plus or SDS-Max chucks that allow the bit to slide back and forth independently of the chuck mechanism.
Common Mistakes When Drilling Concrete
Even with a high-end rotary hammer, poor technique will ruin your project. Below are the most frequent mistakes made on the job site and how to correct them.
1. Applying Too Much Speed and Not Enough Pressure
When a bit stops advancing into the wall, the natural instinct is to squeeze the trigger harder and max out the RPMs. This is the fastest way to destroy a tool. High RPMs generate excessive friction, which quickly exceeds the thermal limits of the bit's brazing. The carbide tip will overheat, turn blue, and snap off. To prevent your drill bits from burning or breaking, run the drill at a medium speed and apply firm, steady pressure. Let the hammering action do the work, not the rotational speed.
2. Using the Wrong Drill Bit
Grabbing whatever masonry bit is lying in your toolbox is a guaranteed recipe for failure. Cheap high-speed steel (HSS) masonry bits will blunt instantly on hard aggregate. You must use a masonry bit with a high-quality tungsten carbide tip. Furthermore, if you are using a rotary hammer, you must use an SDS-Plus or SDS-Max bit. If you need help matching the tooling to your base material, choosing the right concrete drill bit will drastically improve your efficiency.
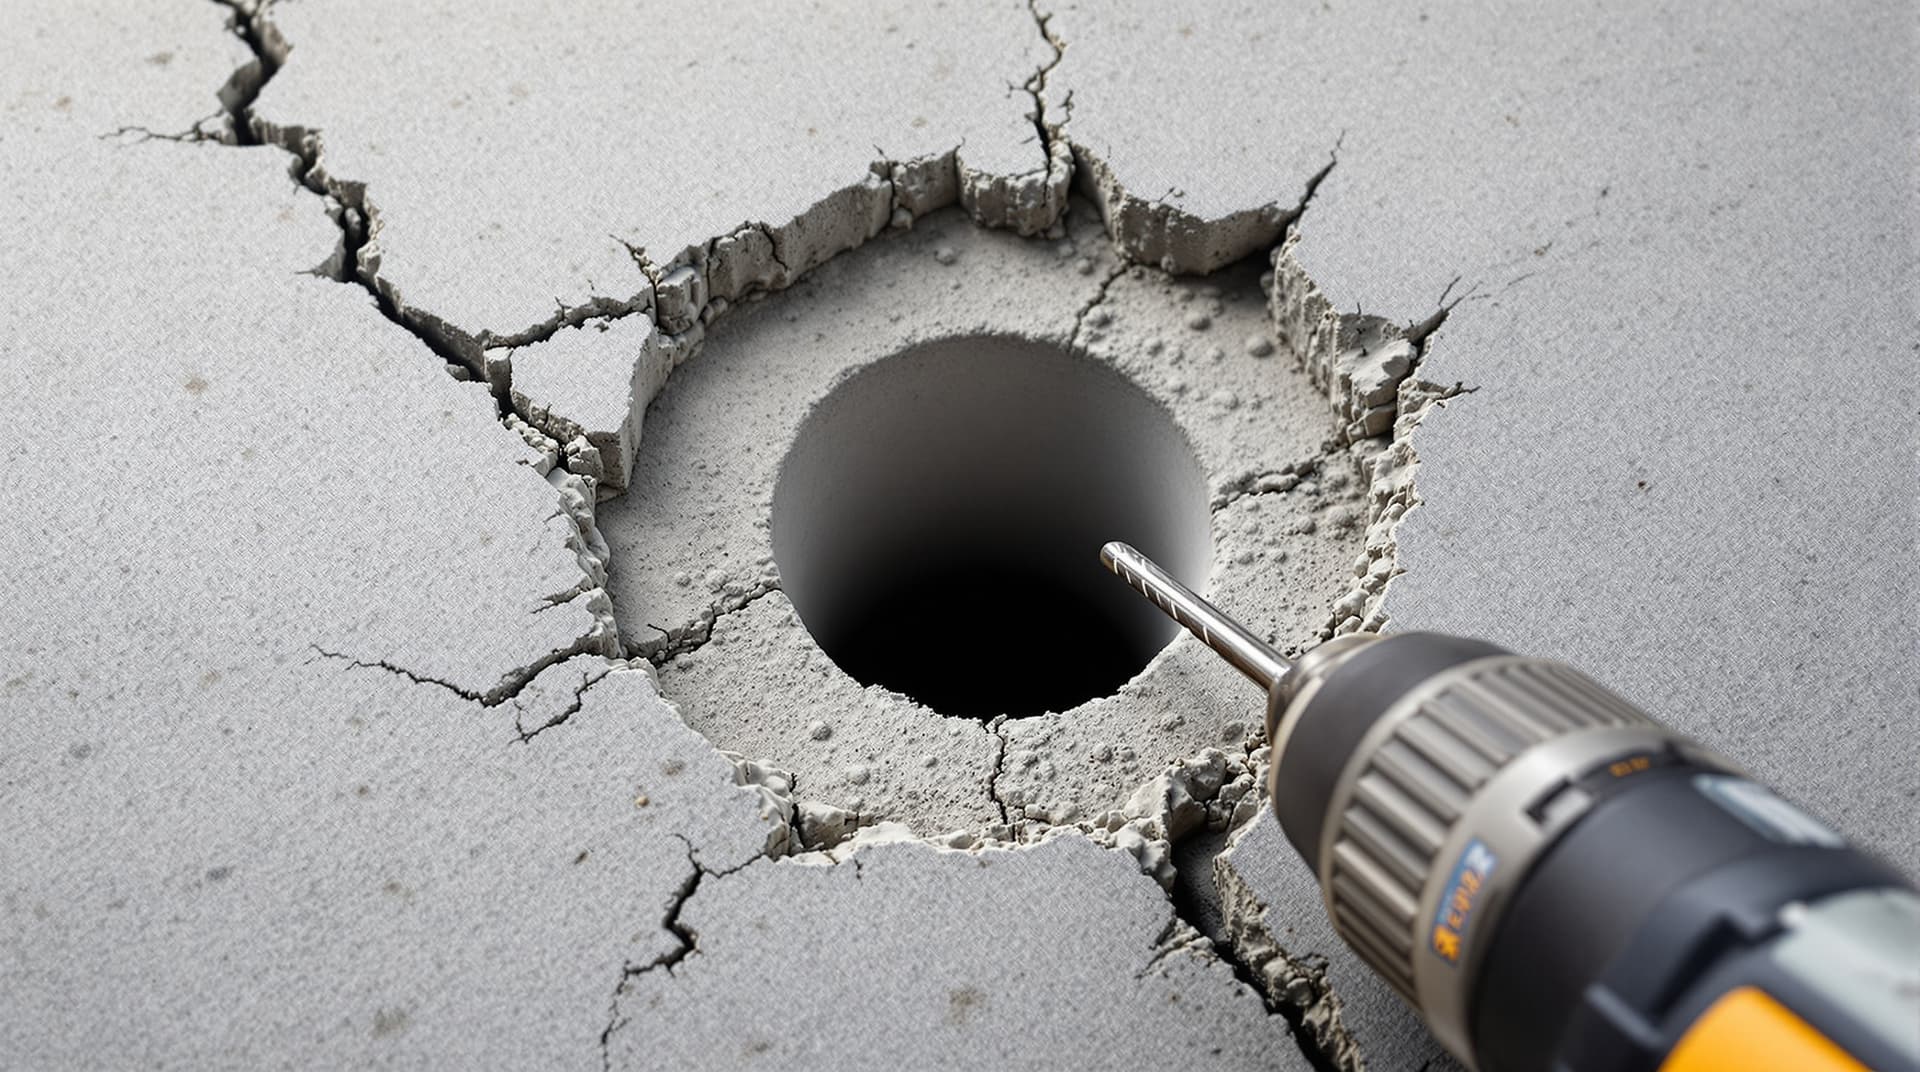
3. Leaving Dust in the Hole
This is the single biggest reason why concrete anchors fail. As you drill, the hole fills with microscopic concrete dust. If you insert a wedge anchor or drive a concrete screw into a dust-filled hole, the dust acts like ball bearings, preventing the anchor's threads or expansion clips from biting into the concrete. Worse, it can cause the screw to bind and shear off before it is fully seated. Always blow the dust out with compressed air, a blowout bulb, or a specialized HEPA vacuum attachment before installing concrete anchors correctly.
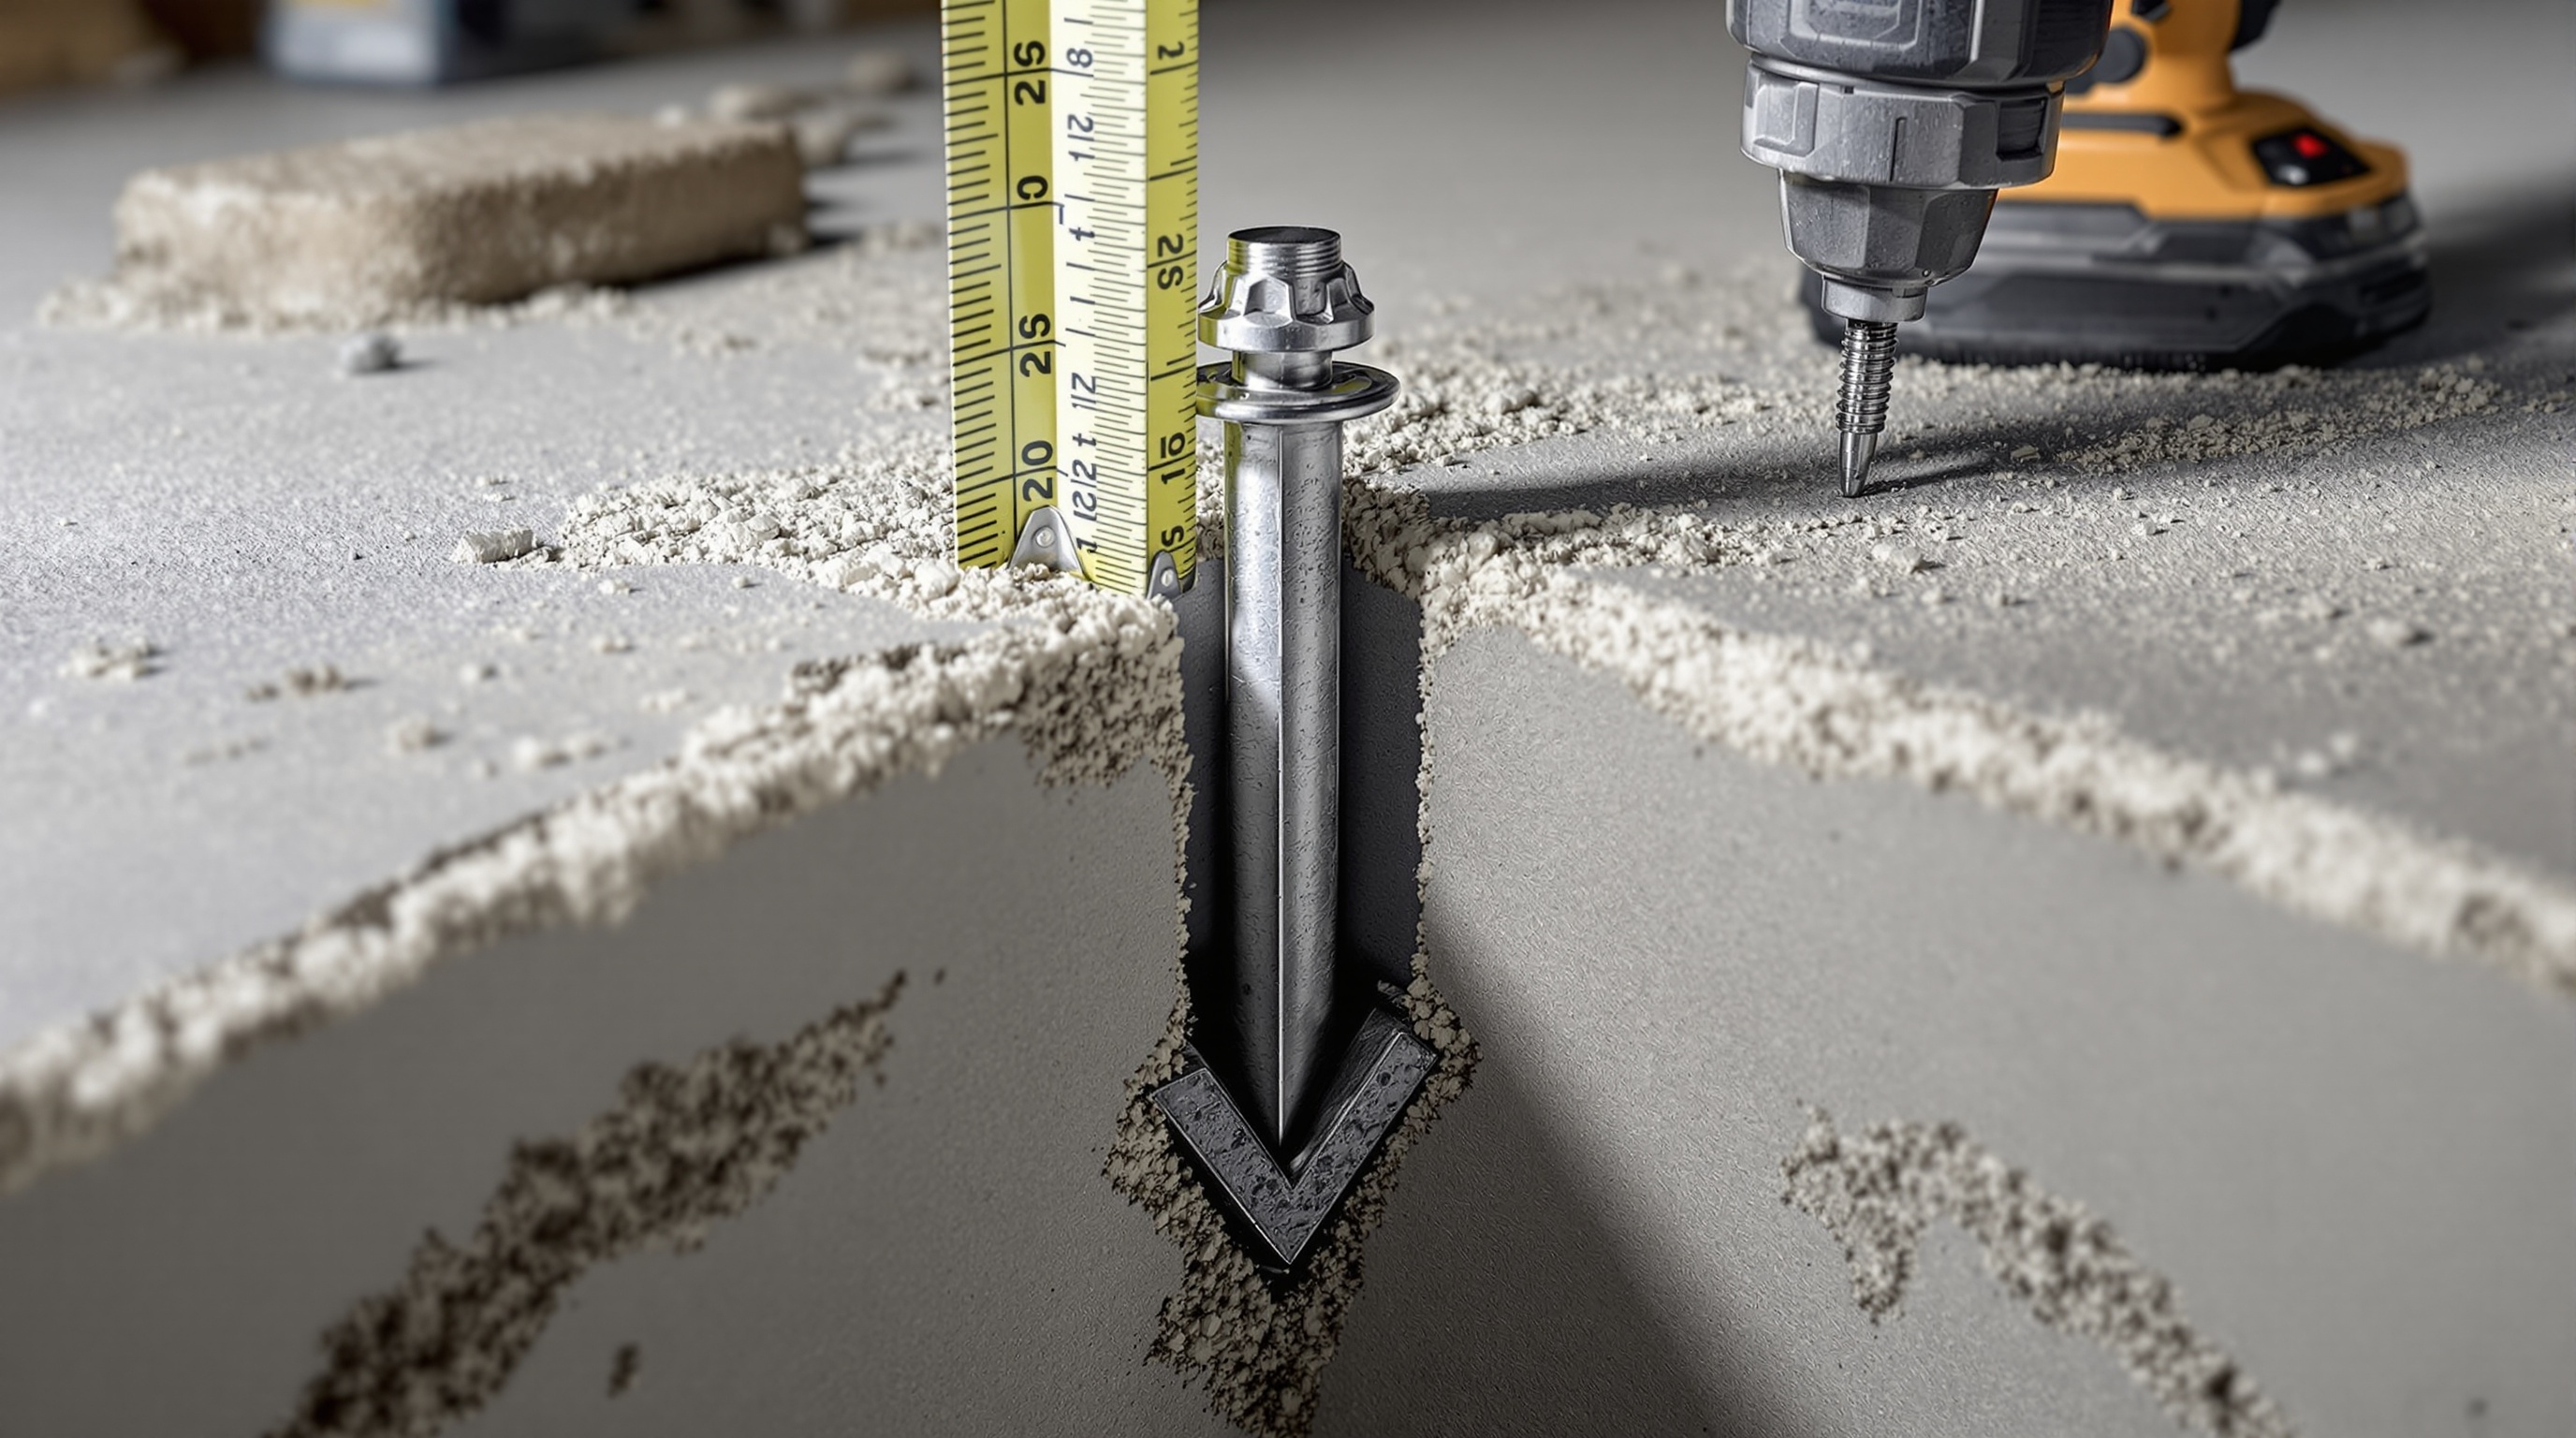
4. Using the Wrong Size Bit for the Fastener
Concrete fasteners have zero tolerance for sloppy holes. If you wallow out the hole or use a bit that is even 1/16-inch off, a concrete screw will strip the concrete threads, and a drop-in anchor will pull right out under a load. Always match the bit exactly to the manufacturer’s specifications. For instance, a 1/4-inch Tapcon screw requires a precise 3/16-inch bit. A 3/8-inch wedge anchor requires a 3/8-inch bit. Taking the time to verify sizing the drill bit for your concrete anchors is non-negotiable for structural integrity.
5. Hitting Rebar and Forcing the Drill
Structural concrete is reinforced with steel rebar. If you are drilling and suddenly hit a dead stop, check the dust coming out of the hole. If it turns gray to shiny metallic, you have hit rebar. Do not force a standard masonry bit through rebar; it will shatter the carbide tip. Either stop and drill a new hole a few inches away, or switch to a specialized rebar-cutting bit (like a 4-cutter head design) and turn off the hammer function to slice cleanly through the steel.
Pro Tips for Flawless Concrete Drilling
Professional tradespeople rely on a few field-tested techniques to drill holes faster and cleaner:
- Use a Depth Gauge: Over-drilling wastes time, battery life, and dulls your bit unnecessarily. Under-drilling prevents your anchor from seating flush. Use the depth rod on your drill, or simply wrap a piece of electrical tape around the drill bit at your desired depth mark.
- Clear the Flutes During Deep Drills: If you are drilling deeper than 3 inches, periodically pull the spinning bit halfway out of the hole to clear the packed dust from the flutes. This prevents the bit from binding and reduces extreme heat buildup.
- Keep It Plumb: A crooked hole will result in an angled fastener. For heavy-duty mountings, an angled wedge anchor will not clamp the fixture down squarely. Use a drill block or a bullseye bubble level attached to the back of the drill casing.
- Start Without Hammer Action on Tiles: If you are drilling through tile or brick veneer to get to the concrete behind it, start the drill in "rotation only" mode. Once you have cleanly pierced the brittle surface material, switch the hammer mode back on for the concrete underneath.
Buying Advice: Tools and Accessories
When investing in concrete drilling equipment, stick to professional-grade brands that feature robust heat management and impact ratings. For homeowners and serious DIYers looking for a cordless hammer drill, the DeWalt 20V MAX XR (DCD999) or the Milwaukee M18 FUEL Hammer Drill deliver excellent beats-per-minute (BPM) for light-to-medium concrete tasks.
If you are undertaking a basement finishing project, installing a sill plate, or mounting heavy garage racks, buy or rent an SDS-Plus Rotary Hammer. The Bosch Bulldog Xtreme (11255VSR) corded rotary hammer is widely considered the industry benchmark for its power-to-weight ratio and long-term durability.
For bits, do not skimp. Look for multi-cutter carbide heads. Bits like the Diablo Rebar Demon or Bosch Daredevil series feature a full-carbide head with a 4-flute design that pulls dust away faster and survives accidental rebar strikes much better than a standard 2-cutter bit.
Conclusion
Drilling into concrete does not have to be an exhausting, tool-destroying chore. By understanding the abrasive nature of the material, stepping up to the correct hammer drill or rotary hammer, and practicing strict temperature and dust control, you can produce clean, precise holes every single time. Stop forcing your tools, buy high-quality carbide bits, match your drill sizes perfectly to your anchors, and clear out the dust. Master these fundamentals, and your concrete installations will remain structurally sound for decades.