How to Install Concrete Anchors Correctly (Step-by-Step Guide)
Before you drill
The Anchor Specification Engine tells you the exact anchor type, diameter, drill bit size, embedment depth, and torque spec for your specific project — per ACI 318-19 — so you walk up to the wall already knowing exactly what to do.
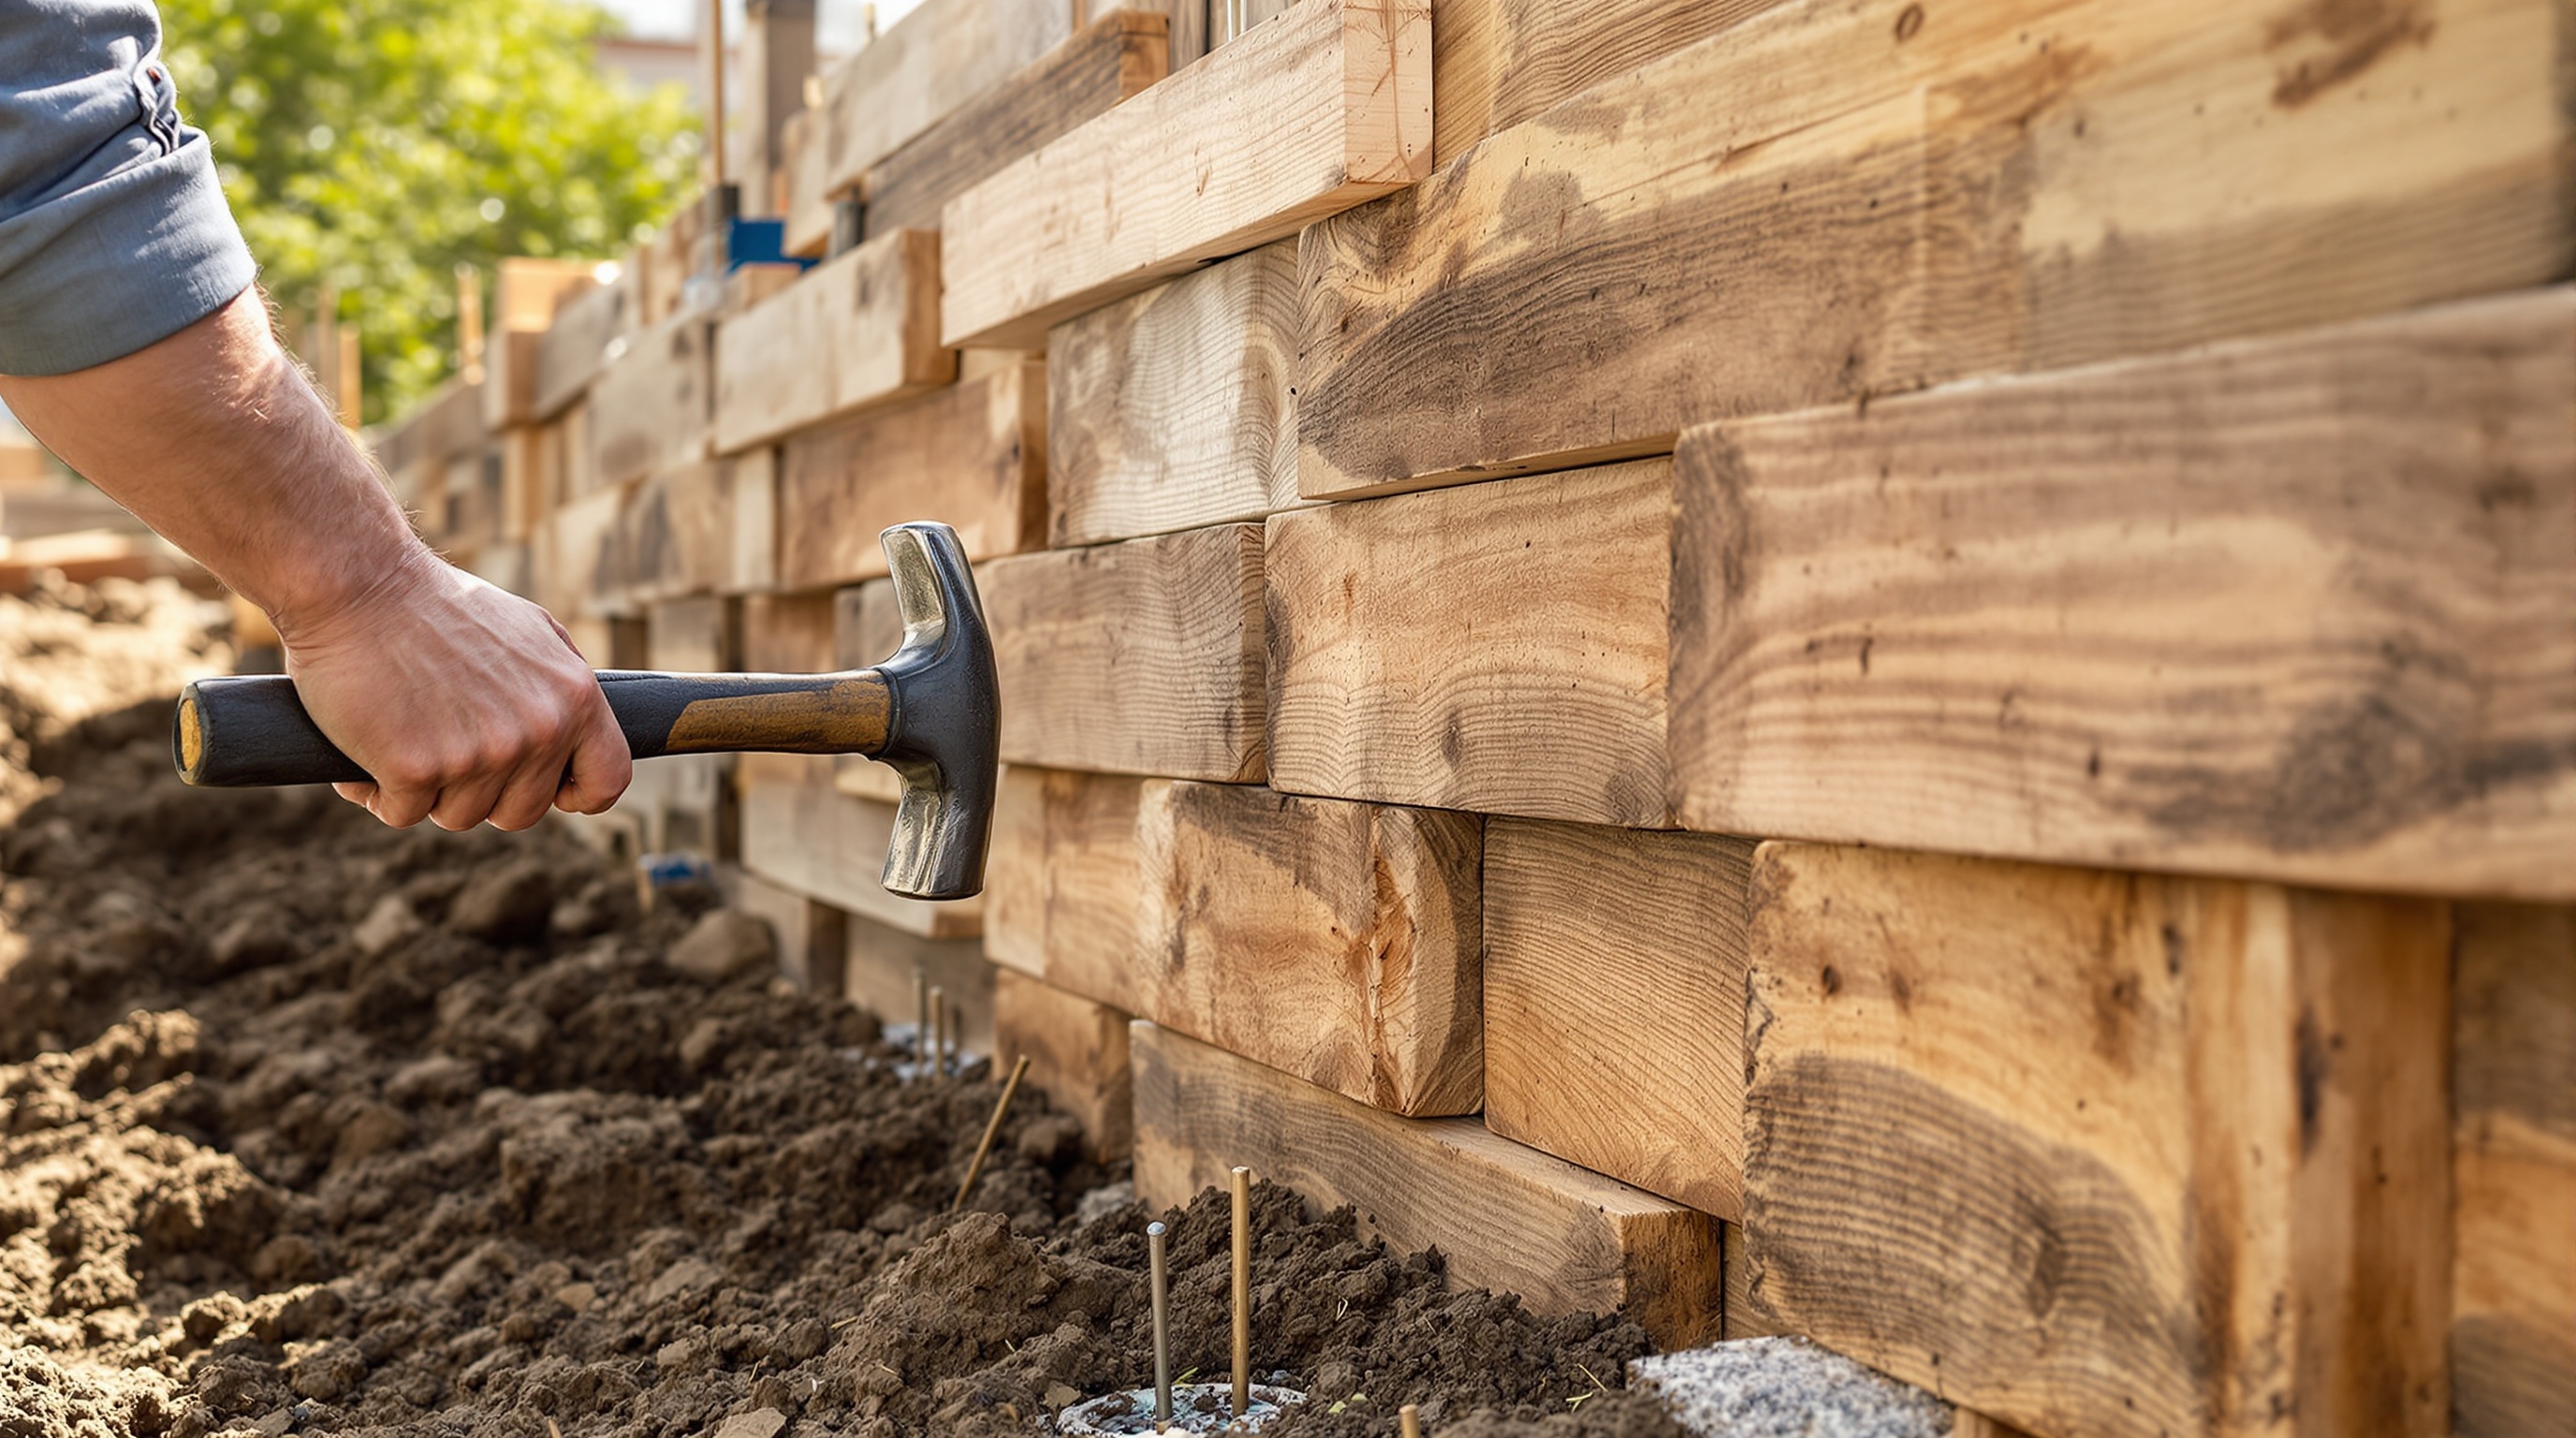
Installing concrete anchors correctly is the difference between a secure, long-lasting structural connection and a dangerous, expensive failure. In the trades, a pulled anchor is more than an inconvenience—it is a massive liability. Whether you are bolting down a 2-post car lift, hanging structural steel, securing a sill plate, or mounting a heavy electrical panel, the anchor is only as strong as the installation process behind it.
Most catastrophic anchor failures aren't caused by manufacturing defects. They are the direct result of operator error: drilling the wrong hole size, failing to clean out concrete dust, or over-torquing the nut. This comprehensive guide will walk you through the professional, step-by-step process of installing concrete anchors to ensure maximum tensile and shear strength.
Overview: Understanding Concrete Anchors
Before you chuck up a bit and pull the trigger, you need to understand how concrete anchors function. Most mechanical concrete anchors (like wedge anchors, sleeve anchors, and drop-in anchors) rely on friction and expansion. As you tighten the bolt or nut, a mechanism expands against the walls of the concrete hole, wedging itself firmly in place. Conversely, concrete screws (like Tapcons) cut their own threads directly into the masonry base material.
Because they rely on friction or precise threading, the integrity of the hole you drill is just as important as the anchor itself. Therefore, starting your project by selecting the right concrete anchor type based on your base material (solid concrete, hollow block, or brick) is your mandatory first step.
When to Use Which Anchor
Choosing the correct fastener dictates your installation method. Here is a rapid-fire breakdown of when to use the most common types:
- Wedge Anchors: Designed exclusively for solid concrete. Do not use these in brick or hollow block. They offer the highest holding power for heavy-duty applications like structural steel, machinery, and racking.
- Sleeve Anchors: Versatile and expanding. Great for brick, block, and mortar joints, as the long sleeve expands across a larger surface area to prevent spalling or cracking in weaker materials.
- Concrete Screws (Tapcons): Best for light to medium loads. Perfect for securing 2x4 furring strips, electrical boxes, and exterior fixtures. See our Tapcon sizing guide for diameter-specific pilot holes.
- Drop-In Anchors: Used primarily for overhead applications in solid concrete, such as hanging HVAC ductwork or threaded rod for cable trays.
Tools Checklist
Gather everything before you start — stopping mid-installation to hunt for a missing tool increases the risk of leaving a hole partially clean or under-torqued.
- SDS-Plus or SDS-Max rotary hammer (for anchors 3/8" and larger) or hammer drill (for concrete screws up to 1/4")
- Carbide-tipped masonry bit matched exactly to your anchor's specified diameter
- Compressed air canister or manual blow-out bulb
- Stiff wire hole-cleaning brush, sized to the hole diameter
- Calibrated torque wrench with the appropriate socket size
- 2-3 lb mini-sledge hammer (for setting wedge/sleeve anchors)
- Safety glasses and a HEPA-rated dust mask — silica dust from concrete drilling is a serious respiratory hazard
- Magnetic rebar locator (recommended for slabs and structural columns)
Step-by-Step Guide to Installing Concrete Anchors
Step 1: Choose the Right Drill and Bit
You cannot use a standard drill for setting anchors. For 1/4-inch concrete screws, a standard hammer drill is sufficient. However, for anything 3/8-inch or larger, you need an SDS-Plus or SDS-Max rotary hammer. Rotary hammers deliver massive impact energy (measured in Joules) to pulverize the aggregate, saving your bits and your wrists.
Your bit selection is crucial. You must use a carbide-tipped, ANSI-compliant high-quality concrete drill bit. ANSI bits are machined to exact tolerances. If you use a cheap, out-of-spec bit, your hole may be oversized, drastically reducing the friction the anchor needs to hold.
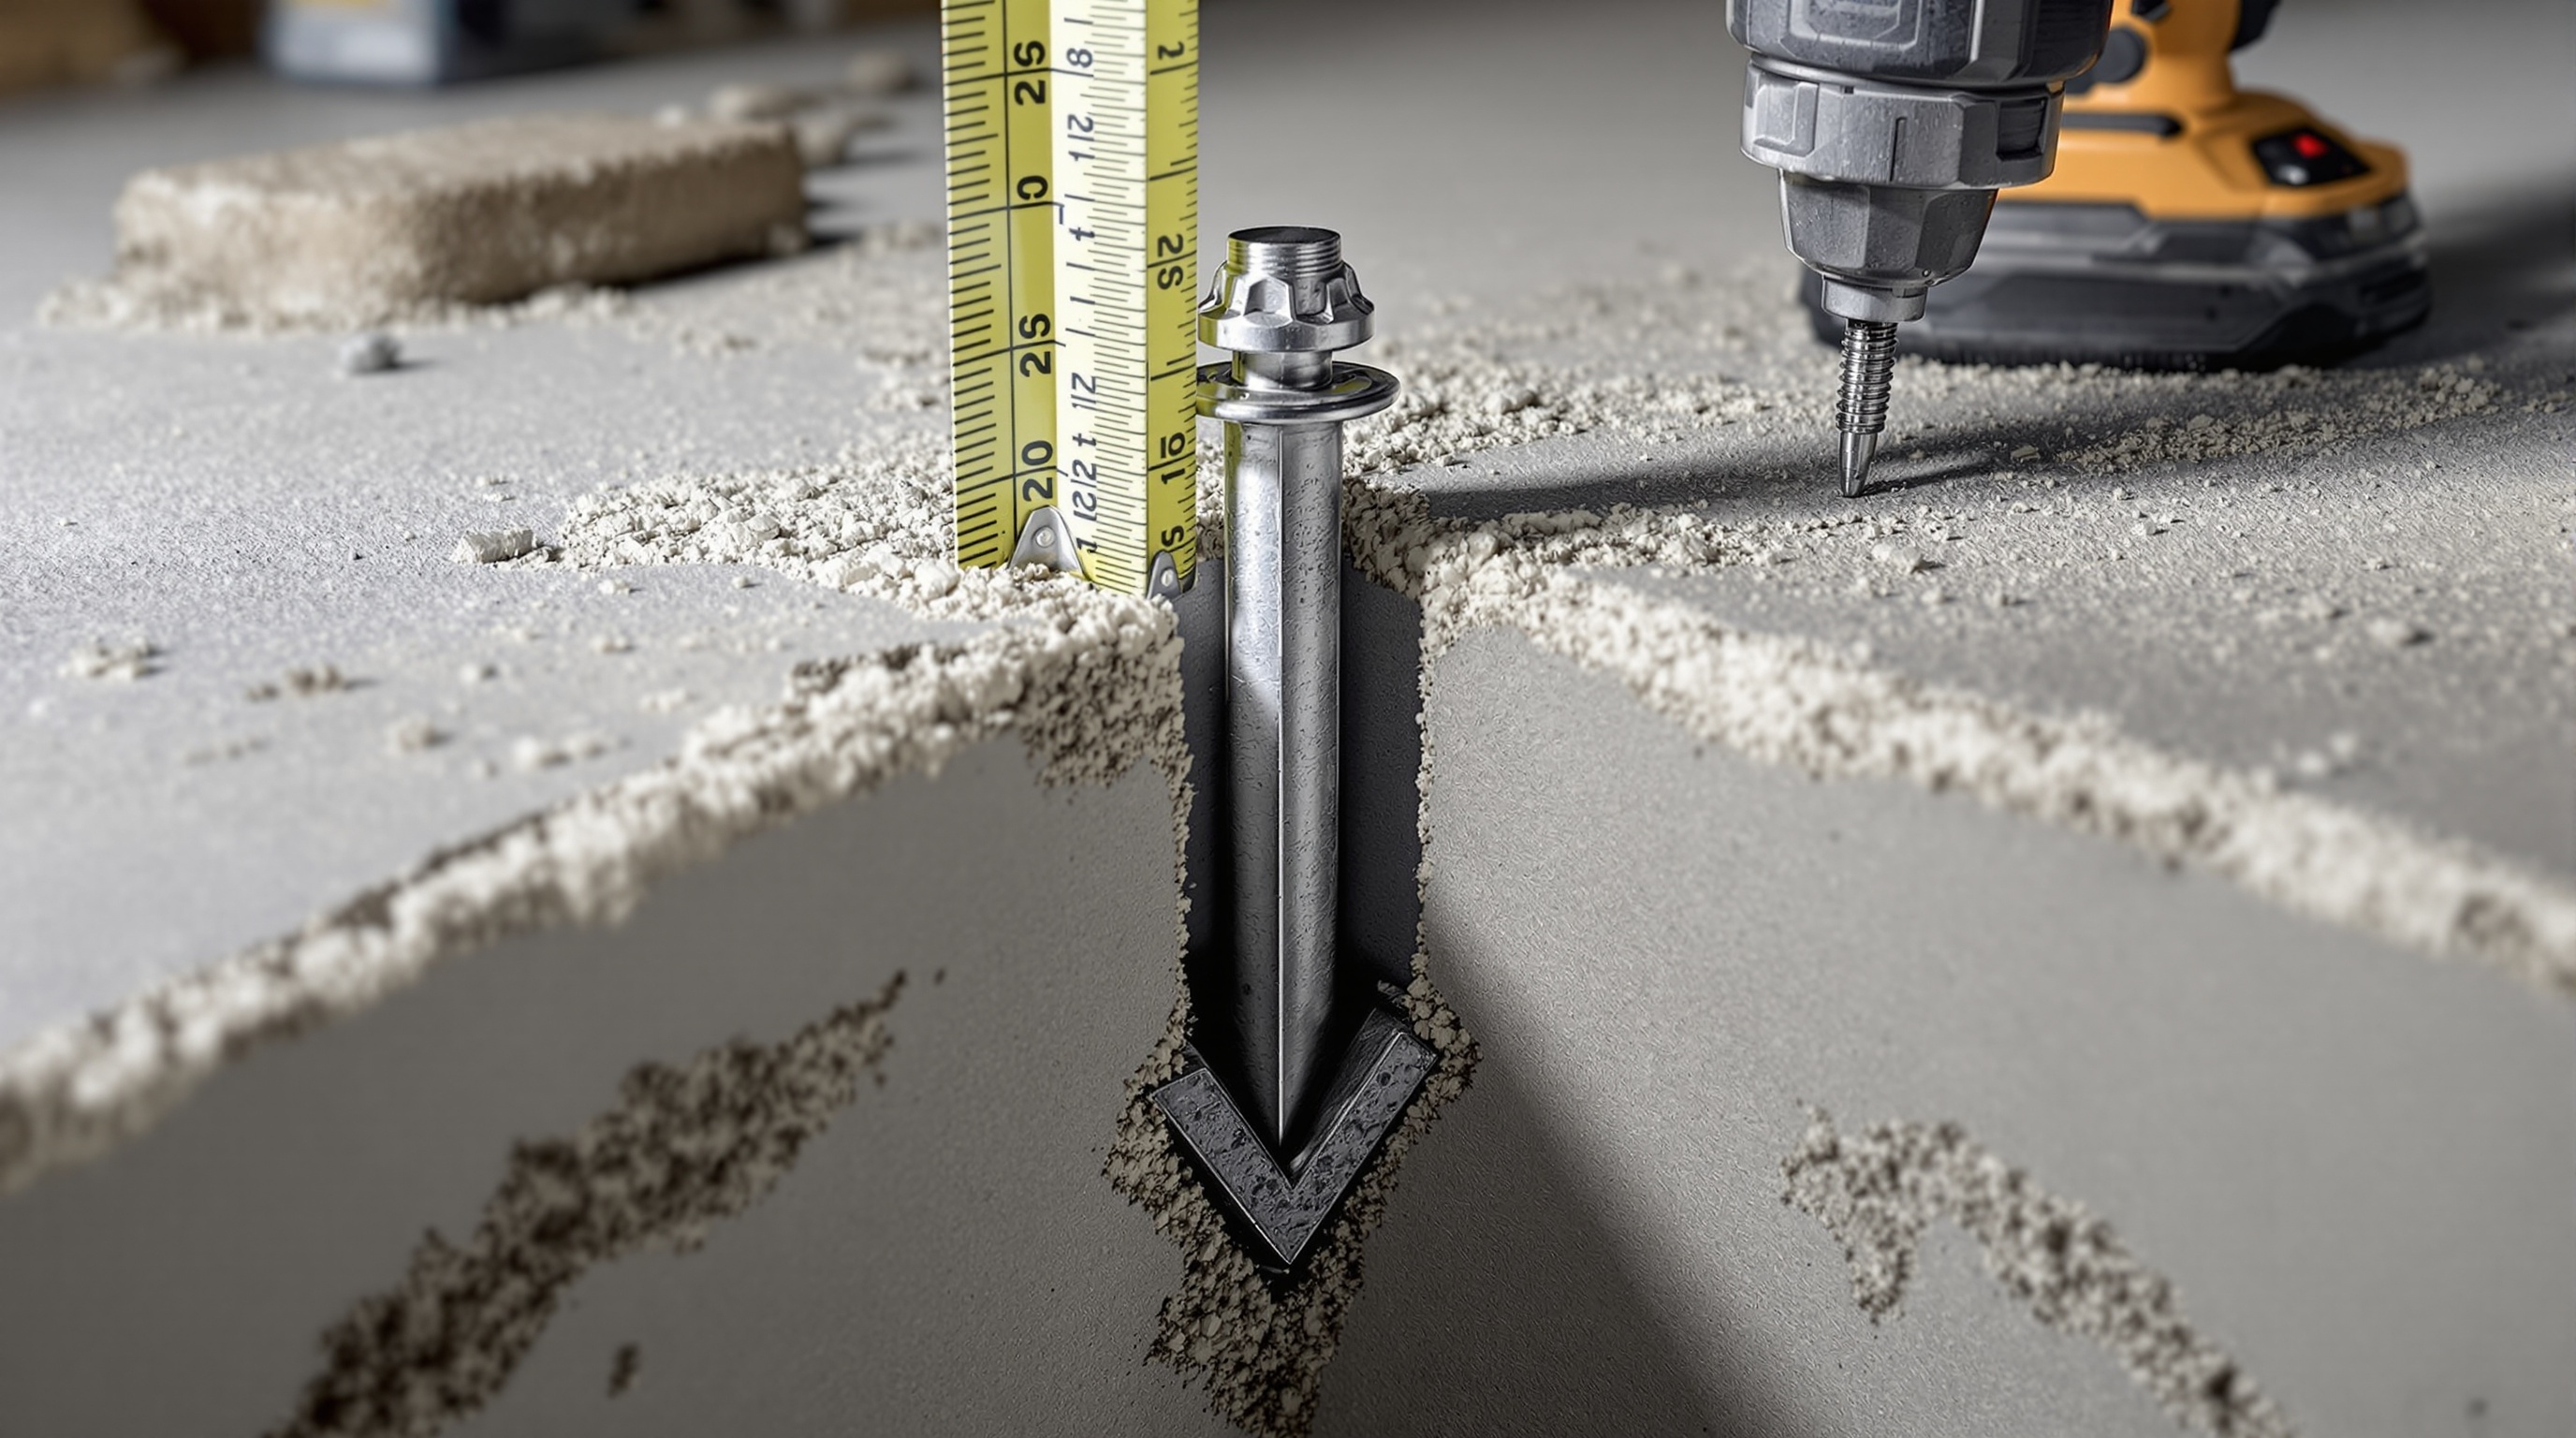
Step 2: Determine and Set Your Depth
Every anchor requires a specific minimum embedment depth to achieve its rated load capacity. Once you know this depth, you must drill the hole 1/4-inch to 1/2-inch deeper than the anchor will sit. This extra space provides a "dust pocket" for any remaining concrete powder to settle into when you drive the fastener.
Use the depth rod on your rotary hammer. If your tool lacks one, wrap a piece of bright electrical tape around your drill bit at the required depth marker.
Step 3: Drill the Hole
Put your safety glasses and HEPA dust mask on. Position the drill perfectly perpendicular (90 degrees) to the concrete surface. If you drill at a slight angle, the fixture you are mounting won't sit flush, and the bolt will experience uneven shear stress.
Start drilling at a low speed to prevent the bit from walking. Once the hole is established, pull the trigger to full power. Let the tool do the work—do not put excessive body weight into the drill, which can overheat the bit, melt the carbide tip, or cause the hole to become bell-mouthed (wider at the top than the bottom).
Step 4: Clean the Hole (The Most Critical Step)
If you skip this step, your anchor will fail. When an expanding anchor sits in a hole full of silica dust, it expands against loose powder instead of solid concrete. This drastically reduces its pull-out strength.
Use the professional "Blow-Brush-Blow" method:
- Blow: Use compressed air or a manual blow-out bulb to blast dust out of the hole.
- Brush: Insert a stiff wire hole-cleaning brush (sized for your hole) and vigorously scrub the walls of the hole to loosen stuck-on dust.
- Blow: Blast the hole out a second time until no more visible dust escapes.
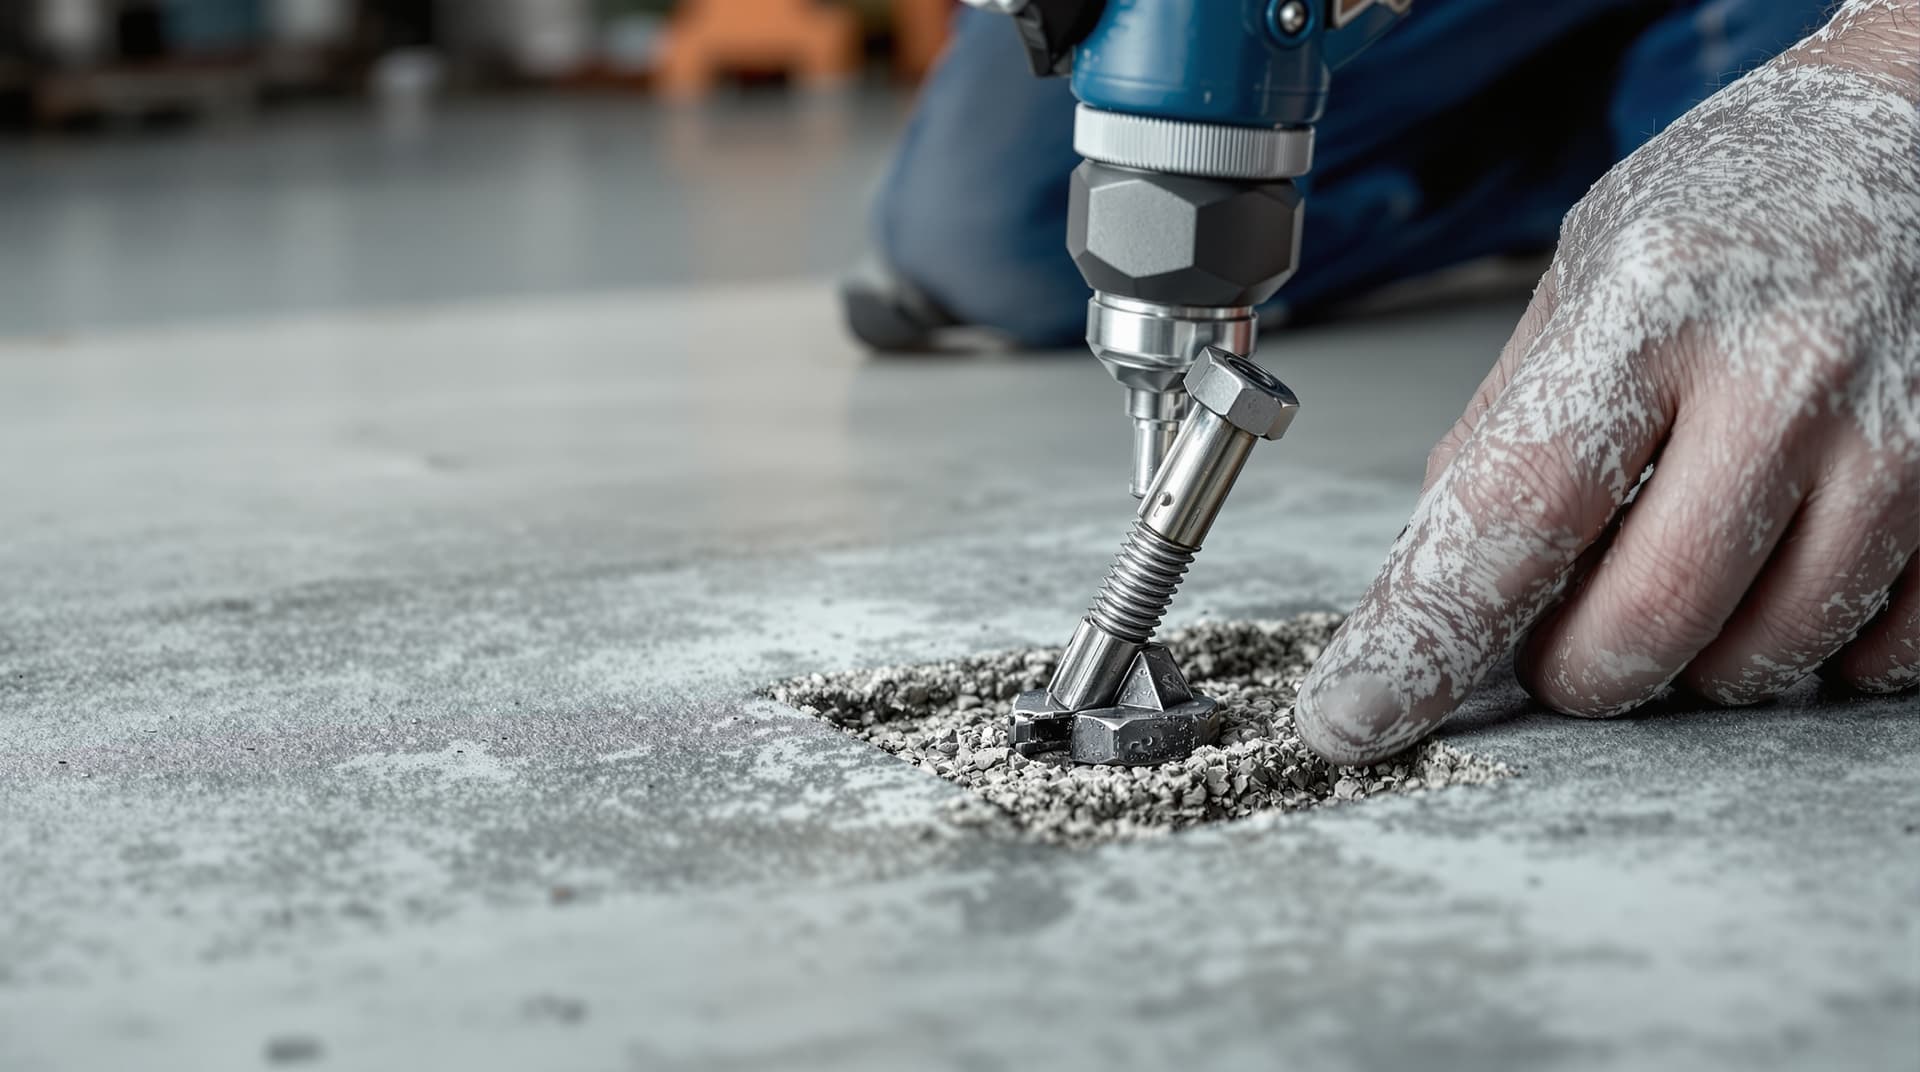
Step 5: Drive and Set the Anchor
For a wedge or sleeve anchor, thread the nut onto the top of the anchor until it is flush with the top of the bolt. This protects the threads from damage when striking it. Insert the anchor through the fixture you are mounting and into the hole. Use a heavy hammer (a 2lb to 3lb mini-sledge is ideal) to drive the anchor in until the washer is sitting completely flush with the fixture.
Finally, tighten the nut using a torque wrench. Do not use an impact driver to tighten mechanical anchors. Impact drivers offer no torque control and will easily over-torque and snap the anchor or crush the concrete beneath the expansion clip. Refer to the manufacturer's packaging for exact torque specifications (e.g., a standard 1/2-inch wedge anchor typically requires about 40 to 50 ft-lbs of torque) — or use the Anchor Specification Engine to get the exact torque value for your specific anchor.
Troubleshooting Common Installation Problems
Even with careful work, things sometimes go sideways mid-installation. Here's how to handle the most common issues:
- The wedge anchor spins freely and won't tighten. This means the expansion clip didn't engage against the concrete — usually because the hole is oversized or the anchor wasn't driven to full depth. Remove the anchor, do not reuse the hole, and drill a fresh hole nearby with the correct bit.
- The concrete screw won't go in, or feels like it's grinding rather than cutting. The pilot hole is likely undersized, or the bit is worn and producing an inconsistent diameter. Back the screw out, inspect the bit for wear (a dull carbide tip looks rounded rather than sharp), and re-drill with a fresh bit if needed.
- The hole hit rebar partway through. Stop immediately. Do not force a standard masonry bit through rebar — it will destroy the carbide tip. Either relocate the anchor a few inches away (re-checking edge distance and spacing), or switch to a rebar-cutting bit with the hammer function disabled.
- The fixture isn't sitting flush after the anchor is set. This is almost always a sign the hole wasn't drilled perpendicular to the surface, or wasn't deep enough. A fixture that doesn't sit flush will experience uneven shear loading on the anchor — it's worth redoing rather than forcing it down with excessive torque.
- Water or debris keeps coming out of the hole during drilling. If you hit a void, crack, or unexpectedly wet area inside the concrete, stop and reassess — this can indicate the concrete near that spot won't develop the anchor's rated capacity. Relocate to solid material.
Pro Tips for Flawless Installation
Watch Your Spacing: Installing anchors too close to the edge of a concrete slab, or too close to each other, creates overlapping stress cones that will crack the concrete. A general rule of thumb is to maintain an edge distance of at least 5 anchor diameters, and spacing between anchors of at least 10 diameters. For a deeper dive into the math, review our guide on anchor spacing and edge distance.
Avoid the Rebar: Striking rebar will instantly ruin a standard concrete bit. If you are drilling into commercial slabs or structural columns, use a magnetic rebar locator before drilling. If you must drill through rebar, switch to a specialized 4-cutter solid carbide head bit designed specifically for rebar cutting, and turn off your drill's hammer function while passing through the steel.
Common Mistakes to Avoid
- Mismatched Bit Sizes: Never guess your bit size. A 3/8-inch wedge anchor requires a 3/8-inch drill bit. However, a 1/4-inch Tapcon screw requires a 3/16-inch bit. Always confirm by matching the right drill bit size to your anchor before starting.
- Over-Torquing: Contractors often think tighter is better. With wedge anchors, over-tightening pulls the wedge too far up the shaft, breaking the concrete away internally (known as concrete spalling). Always use a torque wrench.
- Using Wedge Anchors in Hollow Block: Wedge anchors exert immense localized pressure. If deployed inside a cinder block, they will literally blow the face of the block off. Always use sleeve anchors or toggle bolts for hollow materials — see the toggle/hollow-wall section of our concrete anchor types guide.
Buying Advice: What to Look For
Not all anchors are created equal. When purchasing concrete anchors for heavy or structural loads, stick to proven industry brands that provide ICC-ES (International Code Council Evaluation Service) evaluation reports. Brands like Hilti (Kwik Bolt TZ2), Simpson Strong-Tie (Strong-Bolt 2), and ITW Red Head (Trubolt) are the gold standard on commercial job sites. These anchors are independently tested for seismic loads, cracked concrete, and uncracked concrete applications.
For DIYers and light duty, standard Tapcon blue screws remain the market leader for concrete screw anchors. Just ensure you are buying the correct length. A concrete screw needs a minimum embedment of 1 inch into the base material to achieve its load rating.
Frequently Asked Questions
Can I install concrete anchors with just a regular drill?
For light-duty concrete screws up to about 3/16"-1/4" in softer concrete, a hammer drill can work, though it's slow going and hard on the tool. For anything 3/8" or larger, or for wedge/sleeve anchors, a rotary hammer is effectively required — a standard drill will wallow out the hole and produce an oversized, out-of-round result that won't develop the anchor's rated capacity.
How long do I need to wait before loading a newly installed anchor?
Mechanical anchors (wedge, sleeve, drop-in, concrete screws) achieve their full rated capacity essentially immediately upon correct installation — there's no cure time. This is one of their main advantages over adhesive/epoxy anchors, which require a manufacturer-specified cure period (often several hours) before loading.
What if I'm not sure my concrete is solid enough for the anchor I'm planning to use?
Drill a small test hole first. Solid concrete produces continuous resistance and consistent gray dust throughout. If you hit a void, hollow section, or the resistance changes dramatically partway through, that location may not support the anchor's rated capacity — relocate, or switch to an anchor type appropriate for what you actually found.
Conclusion
Installing concrete anchors correctly requires precision, the right tools, and an uncompromising approach to cleanliness and torque specs. By selecting the right ANSI-rated bits, strictly following the blow-brush-blow cleaning method, and using a torque wrench for final tensioning, you ensure that your fasteners will hold fast under maximum load. Treat every anchor installation like a structural connection, and you will never have to worry about a failed mount again. And if you'd rather not look up bit sizes and torque specs manually, the Anchor Specification Engine has already done the work for you.